Draft a Notched Lapel
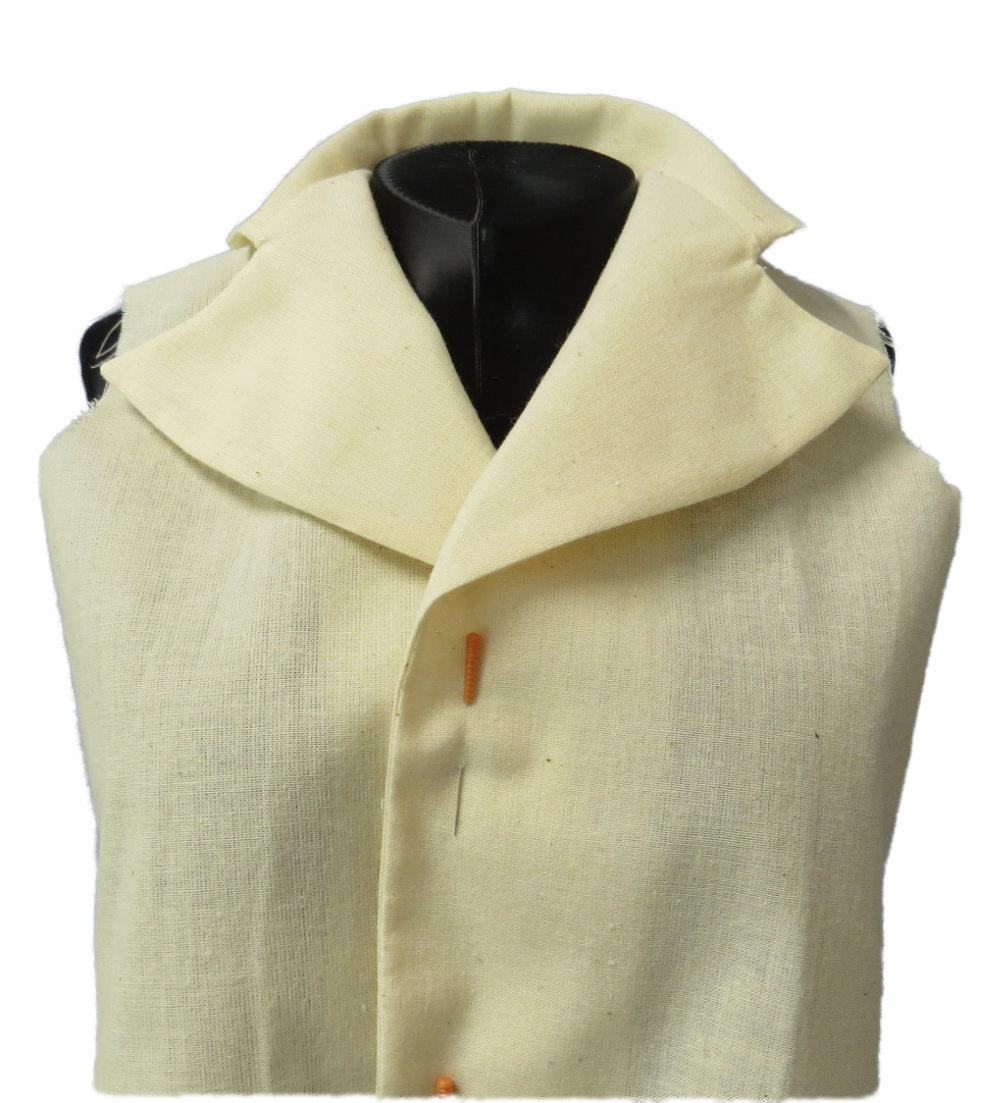
Notched Lapel Sample Garment (1/2 scale)
This lesson guides you through drafting a classic notched lapel collar. While this draft requires care and precision, mastering it is a huge milestone. Working through the steps will build your confidence not just as a pattern drafter, but as a designer. Once you’ve completed this piece, you’ll have the core skills to draft an endless variety of tailored collar designs.
If you don't have a draft to start from, download the 103 front and back bodice SVG as a starting point. Learn how to use the Import PMP SVG tool.

New to these instructions? Practice Basics explains point movement, how to read each step and contains other helpful tips.
Preparation
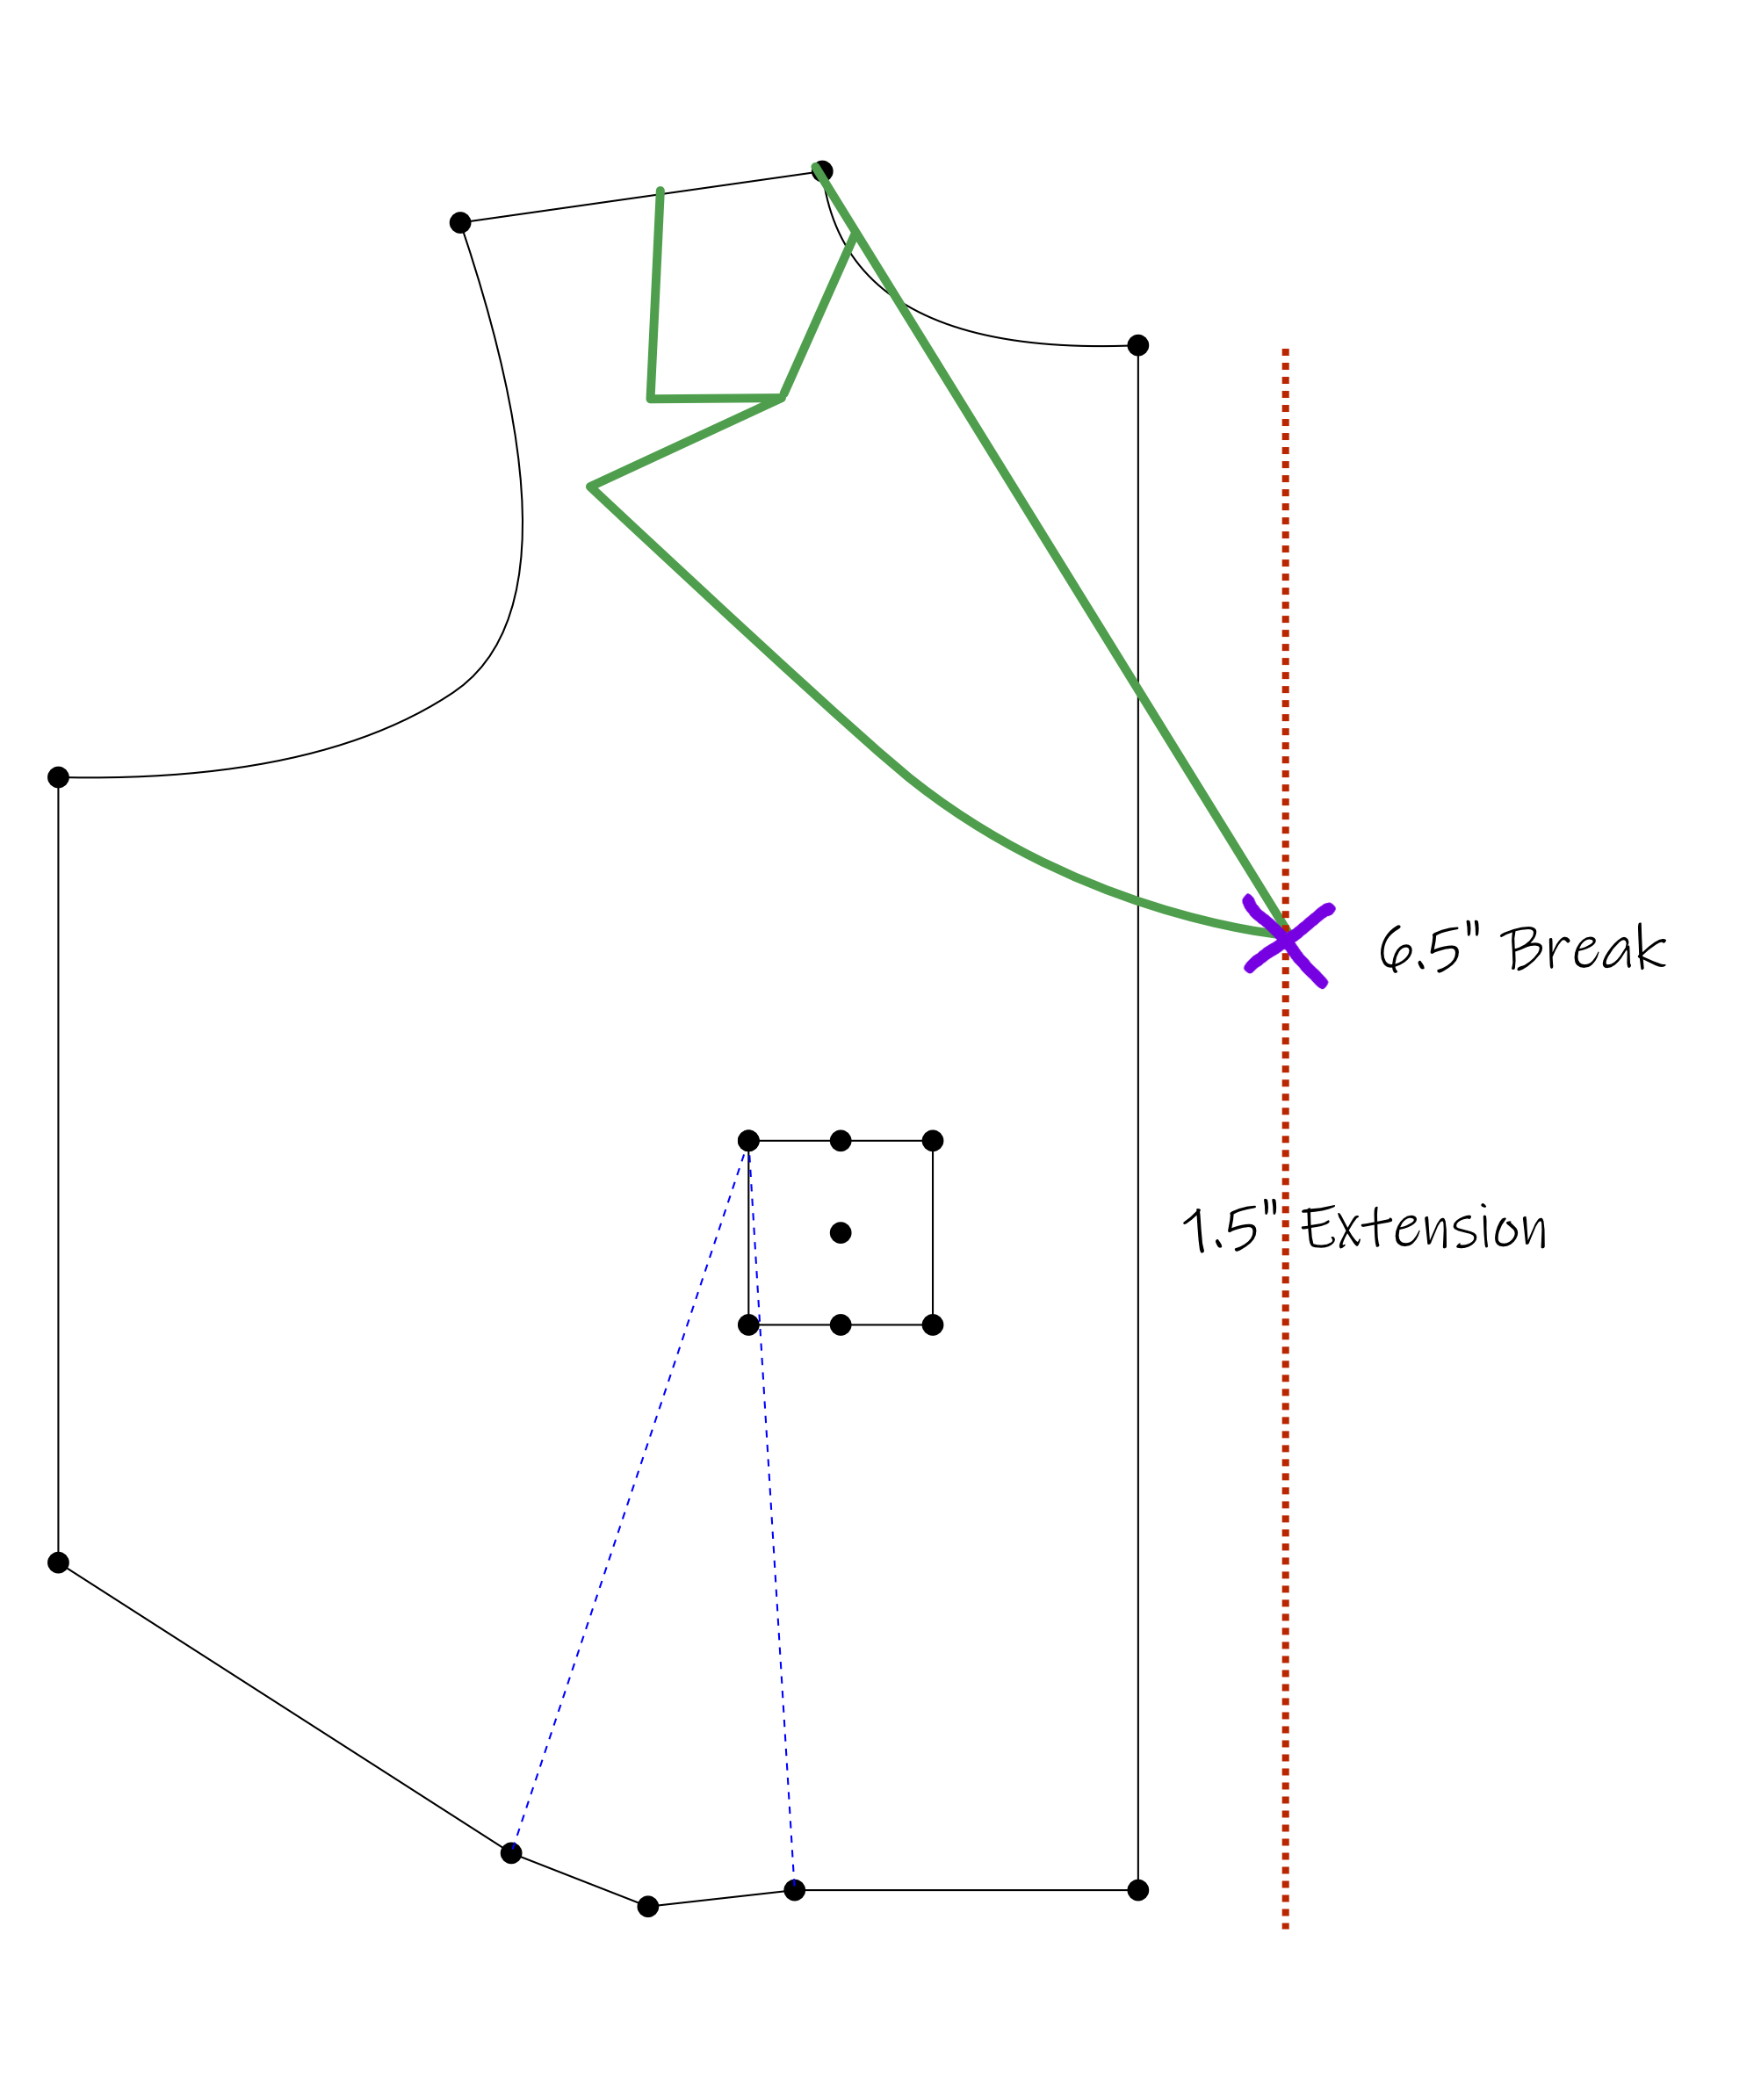
Before jumping into the draft, take a moment to sketch out the look and proportions of your lapel. Decide on key design elements like the center front extension for your overlap, the break point location down the center front line, the notch placement and spread, and the overall lapel shape.
A quick way to create your sketching base is to open your front bodice sloper draft and export it. Export an SVG if you want to sketch digitally in a vector program like Affinity Designer or Illustrator, or export a PNG if you prefer to print it out and draw on it by hand. Once your sketch is complete, import it back in as a PNG or JPG background image to trace against.
The first few steps below will walk you through preparing and importing your reference image.
Don't want to sketch your own? Download the notched lapel sketch that I used.
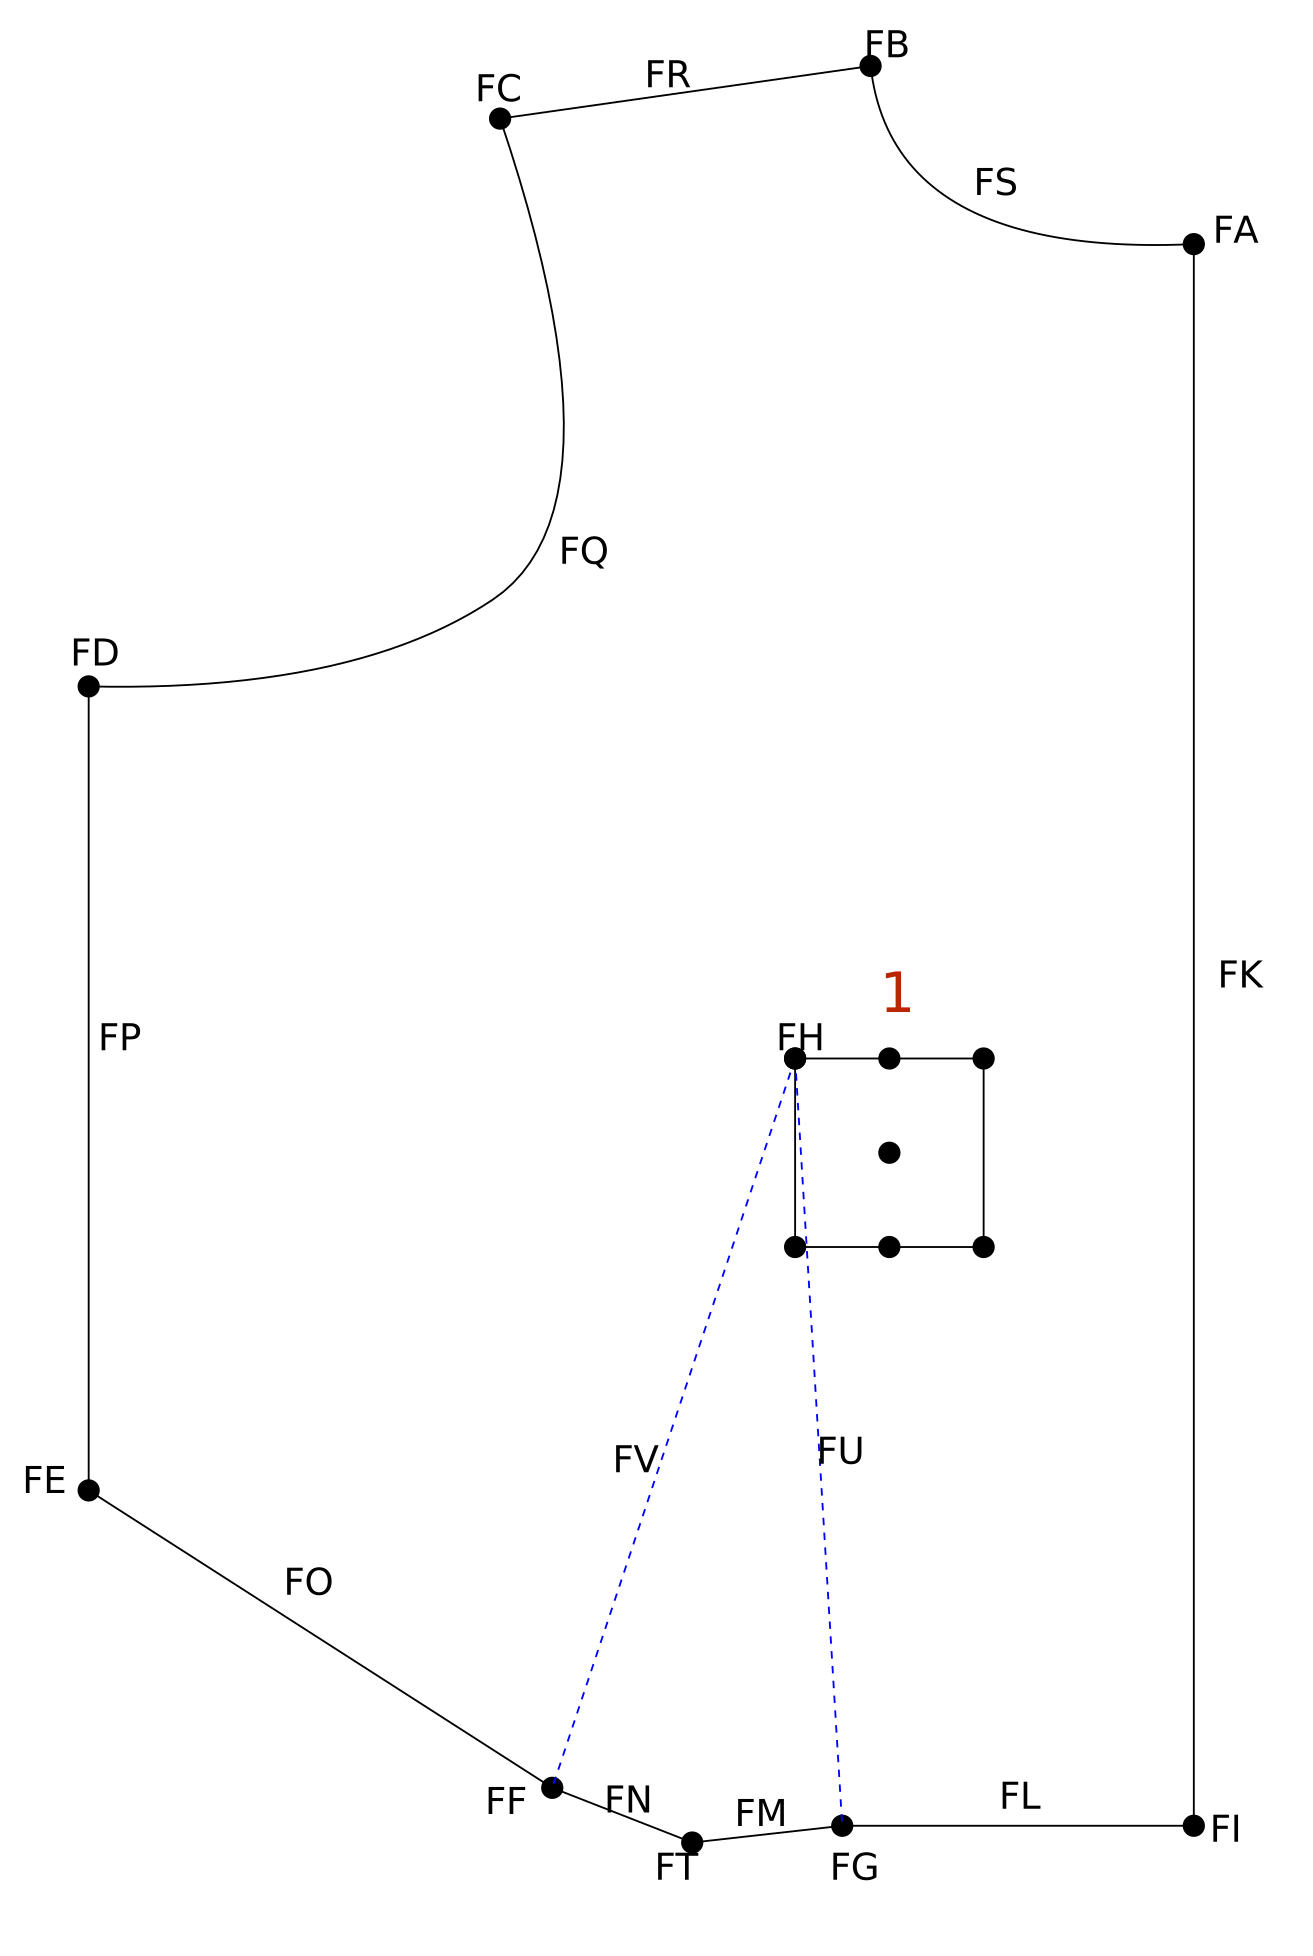
 Shapes > Add Rectangle at Point
 Pro > Export SVG Image
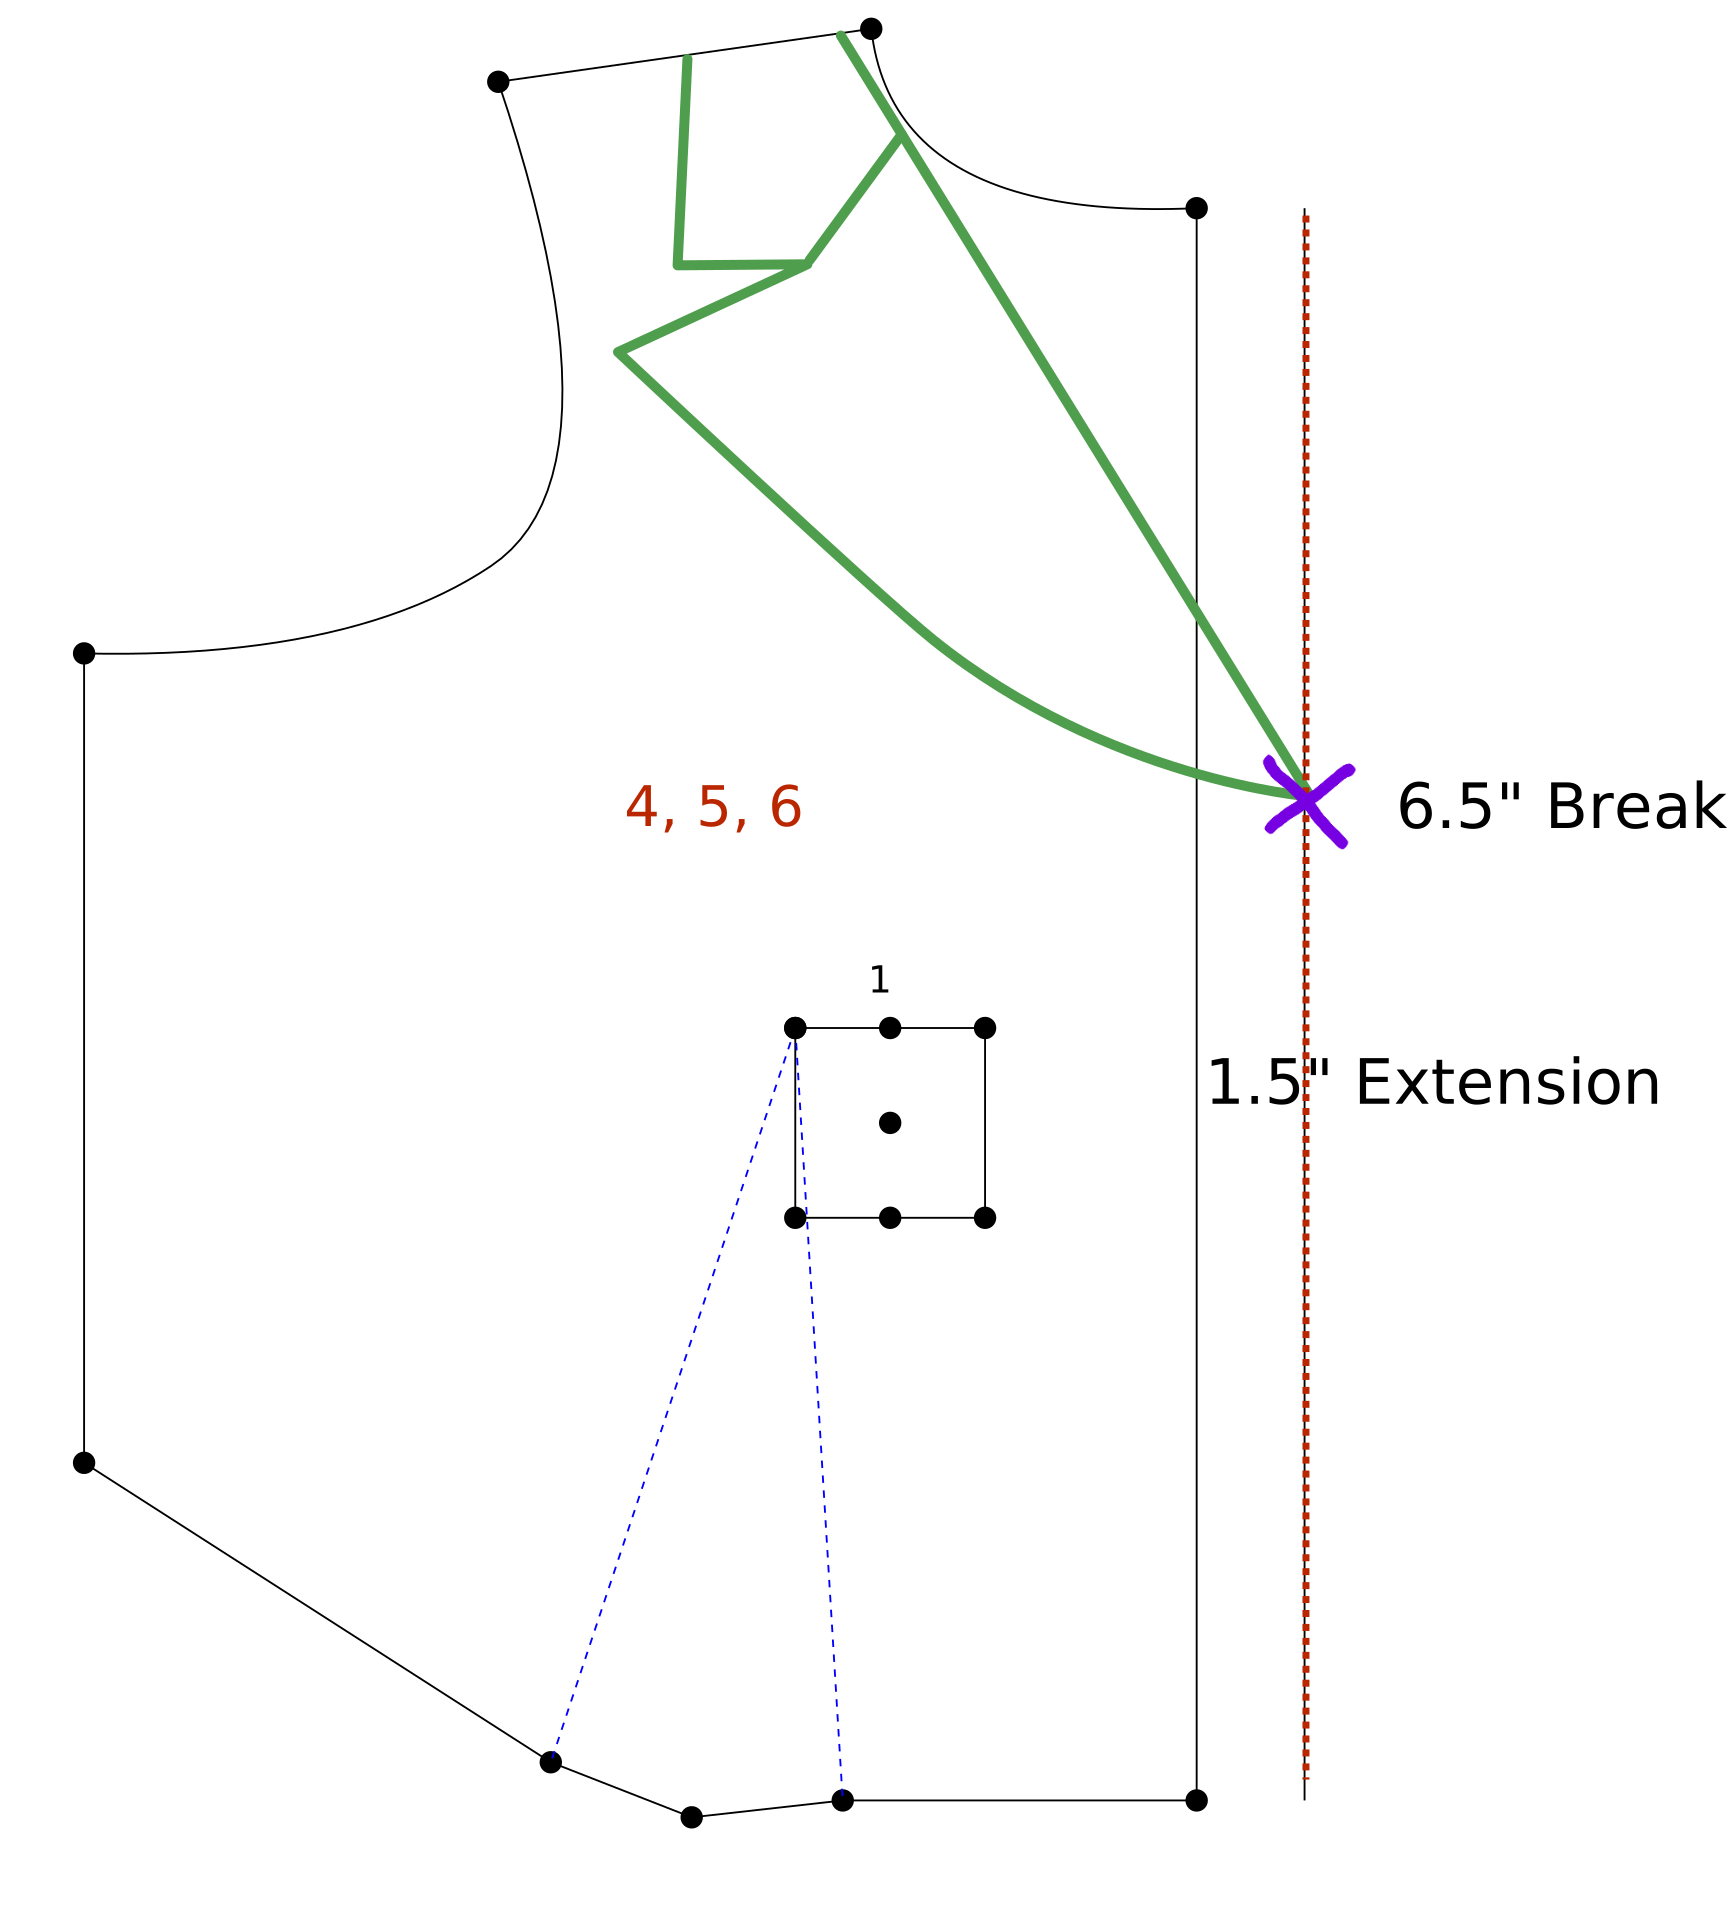
 Image > Import Image
 Image > Scale Image
 Image > Drag Image
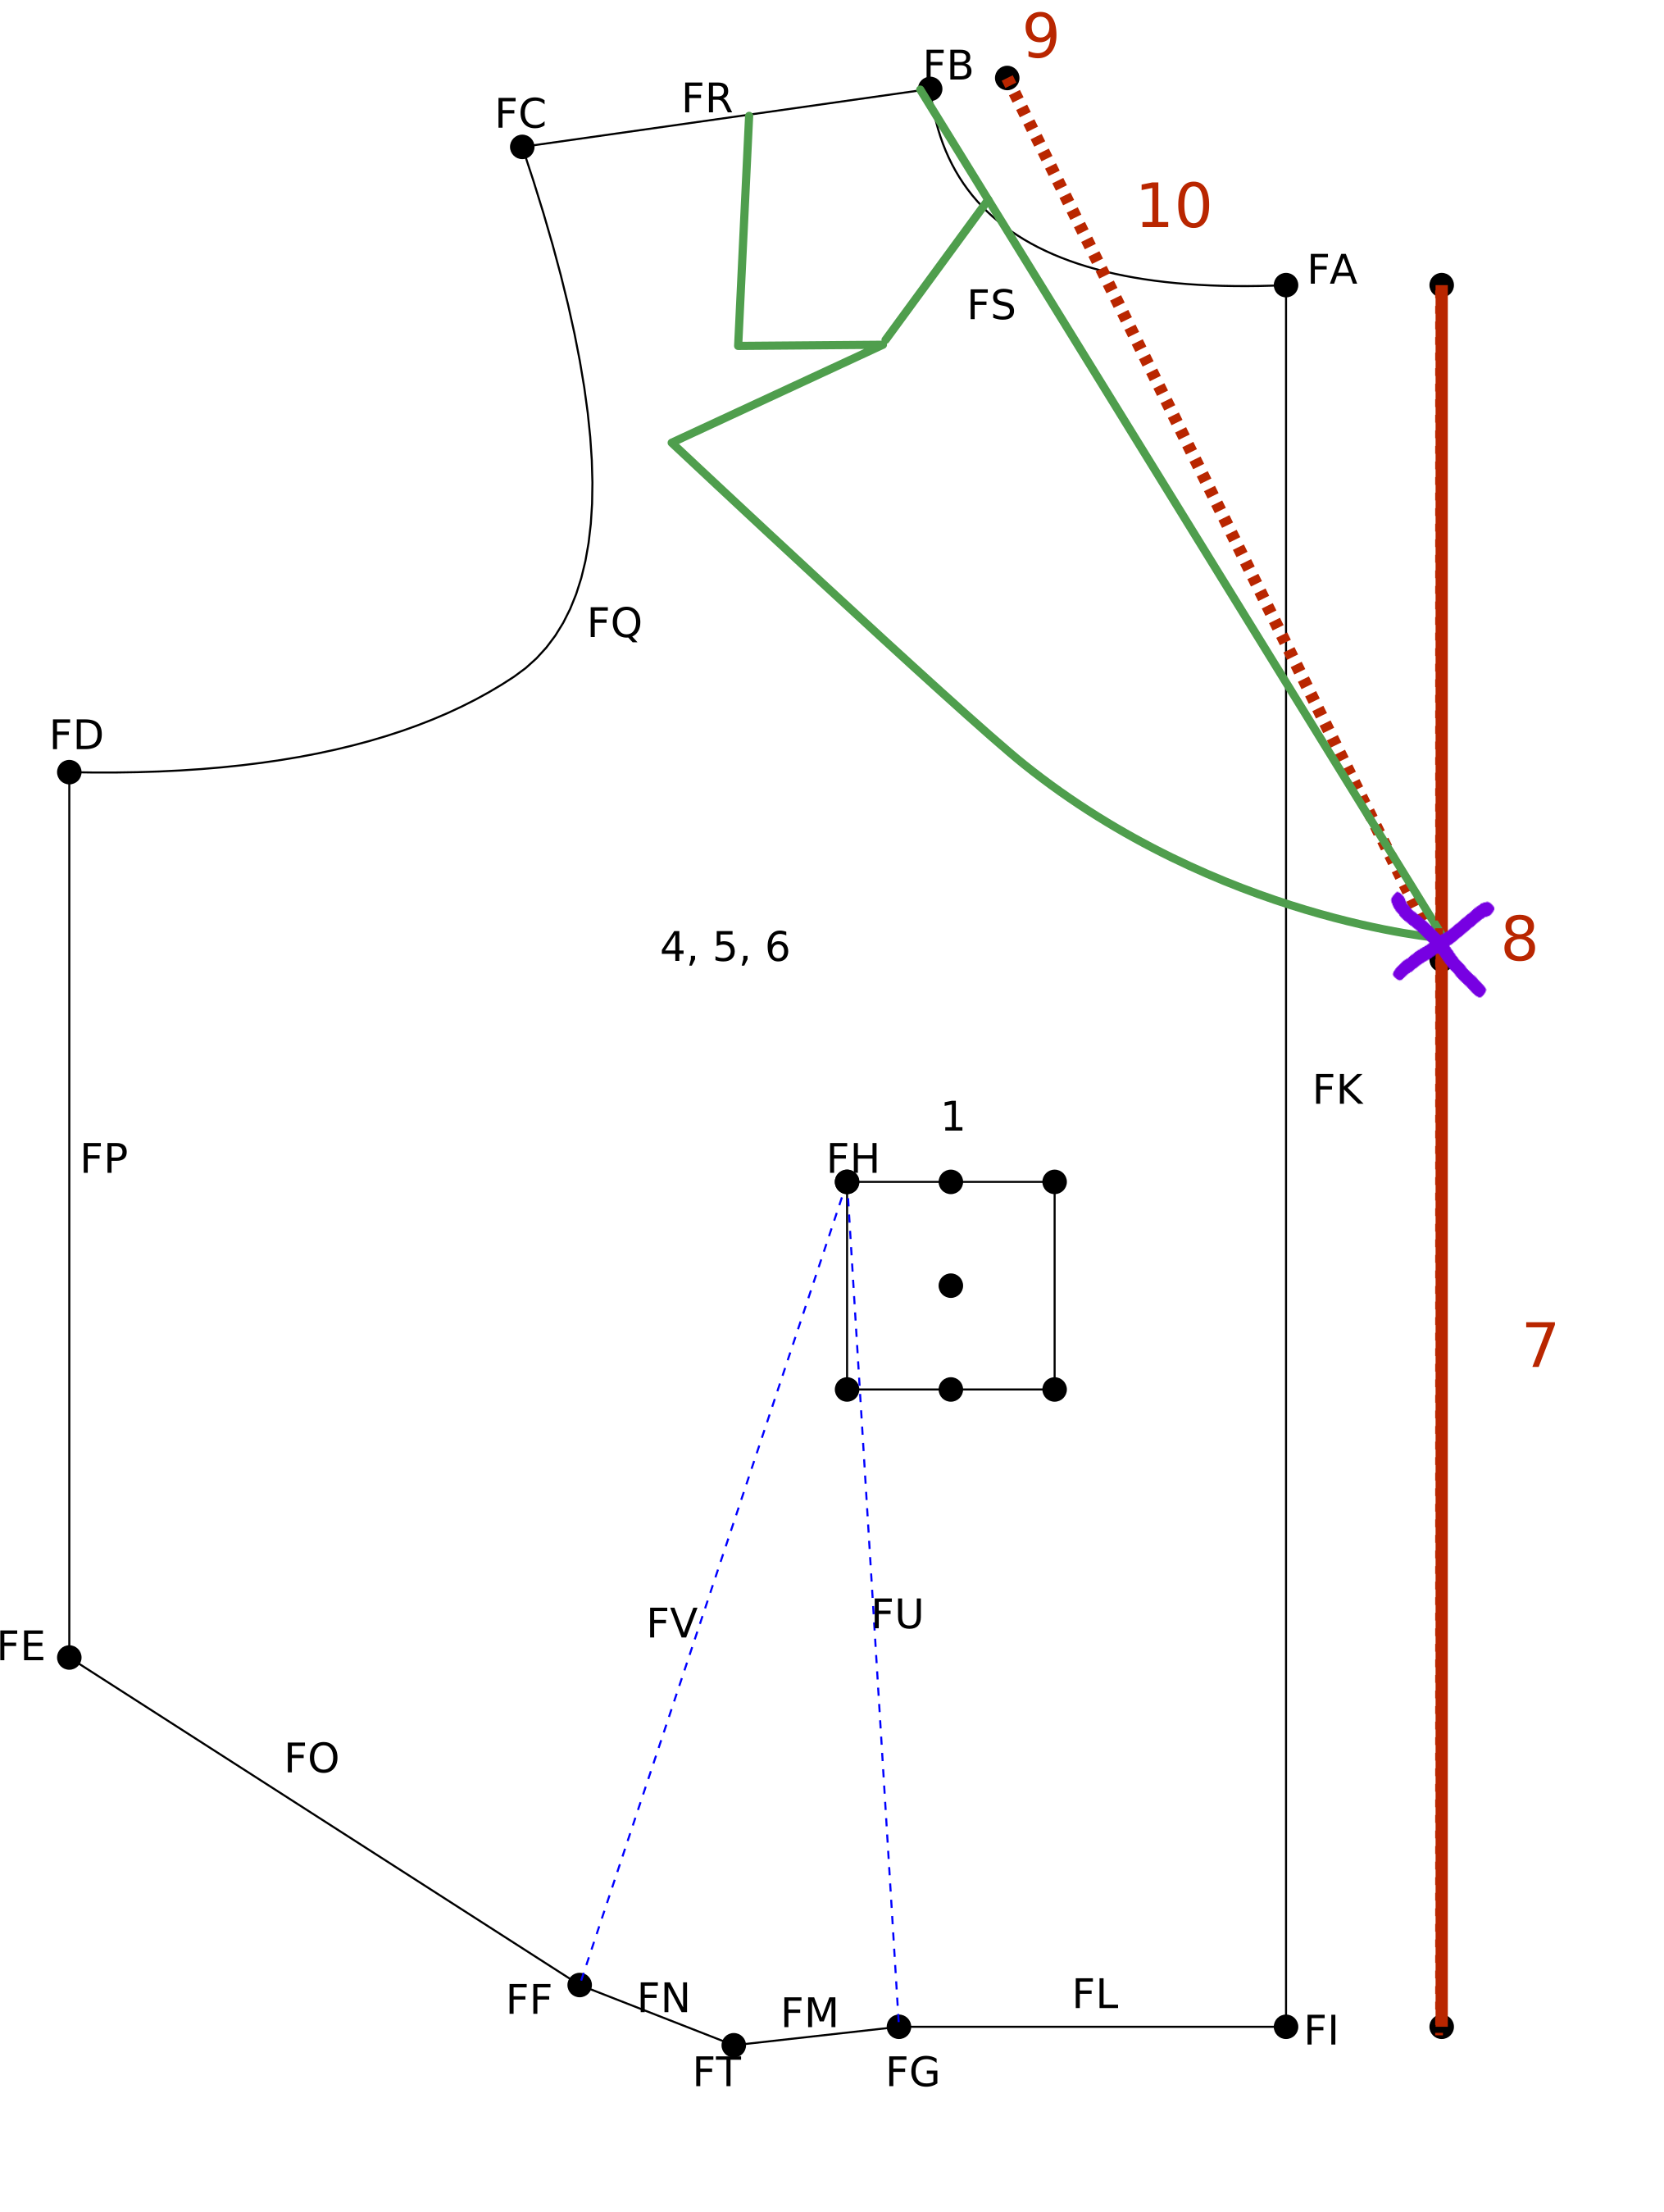
 Lines > Offset Line
 Points > Add Point on Line/Curve
 Points > Add Point on Vector
 Lines > Add Line
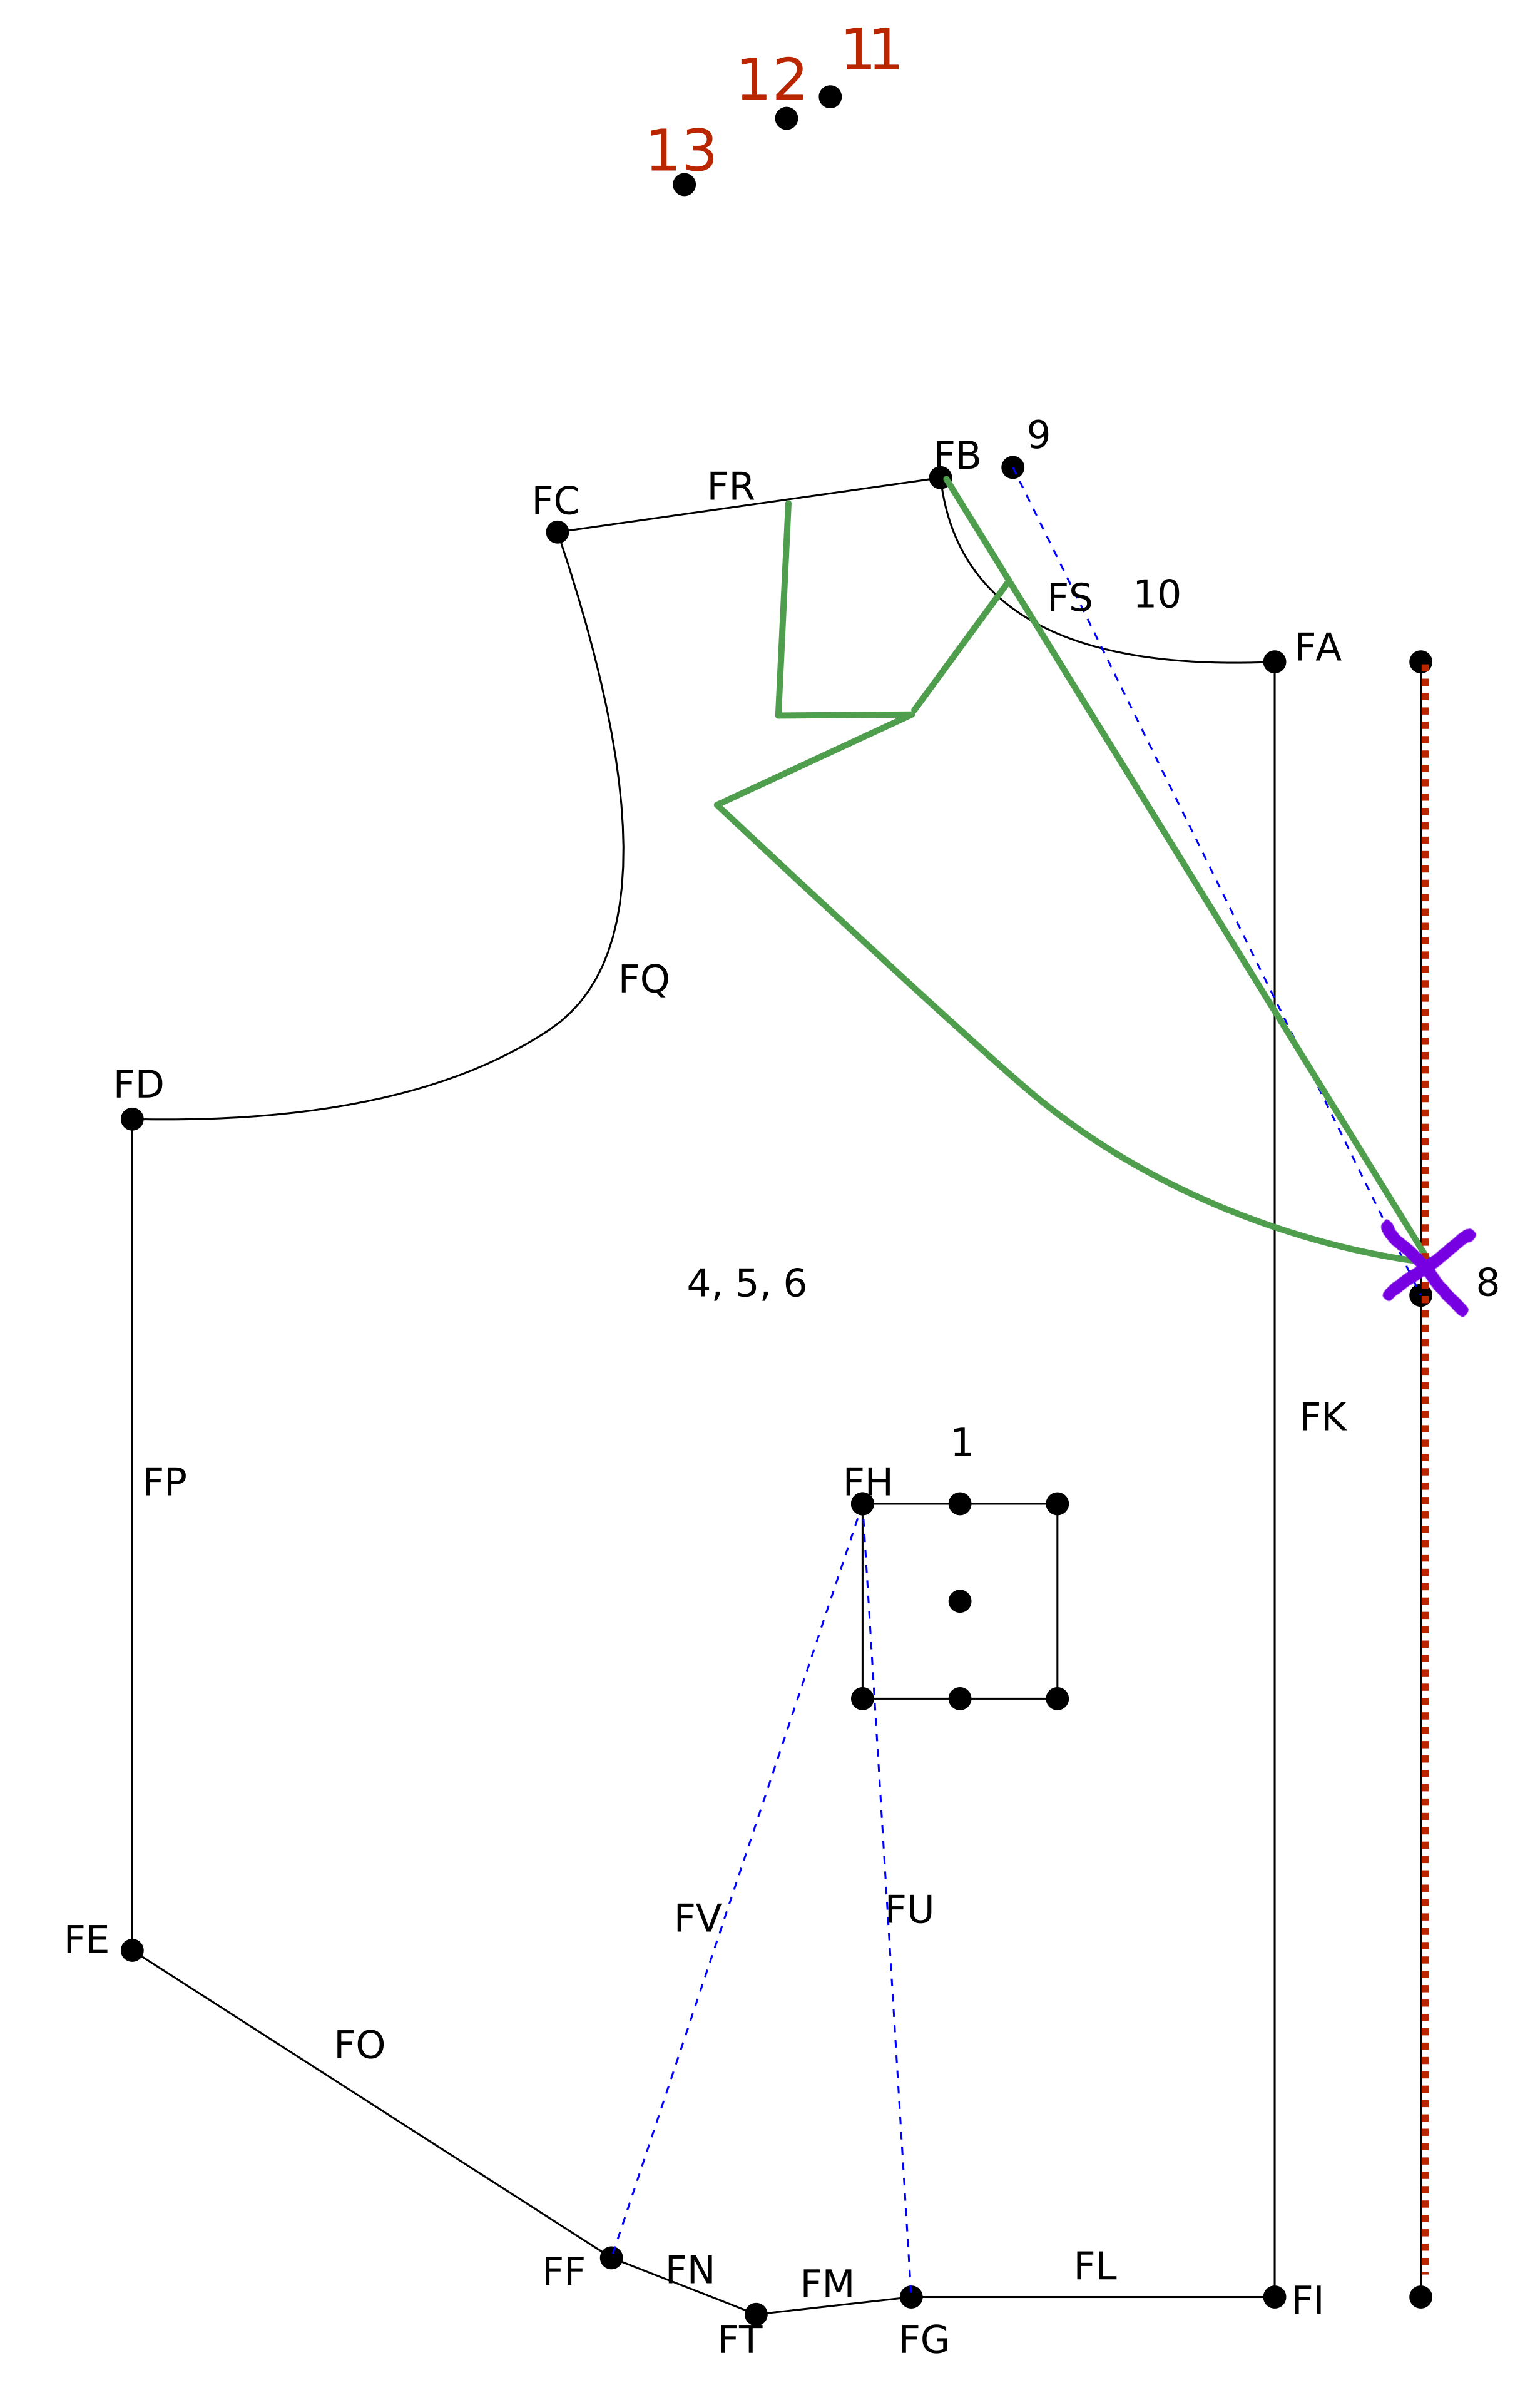 Points > Add Point on Vector
 Points > Add Point PerpendicularPoints > Add Point Perpendicular
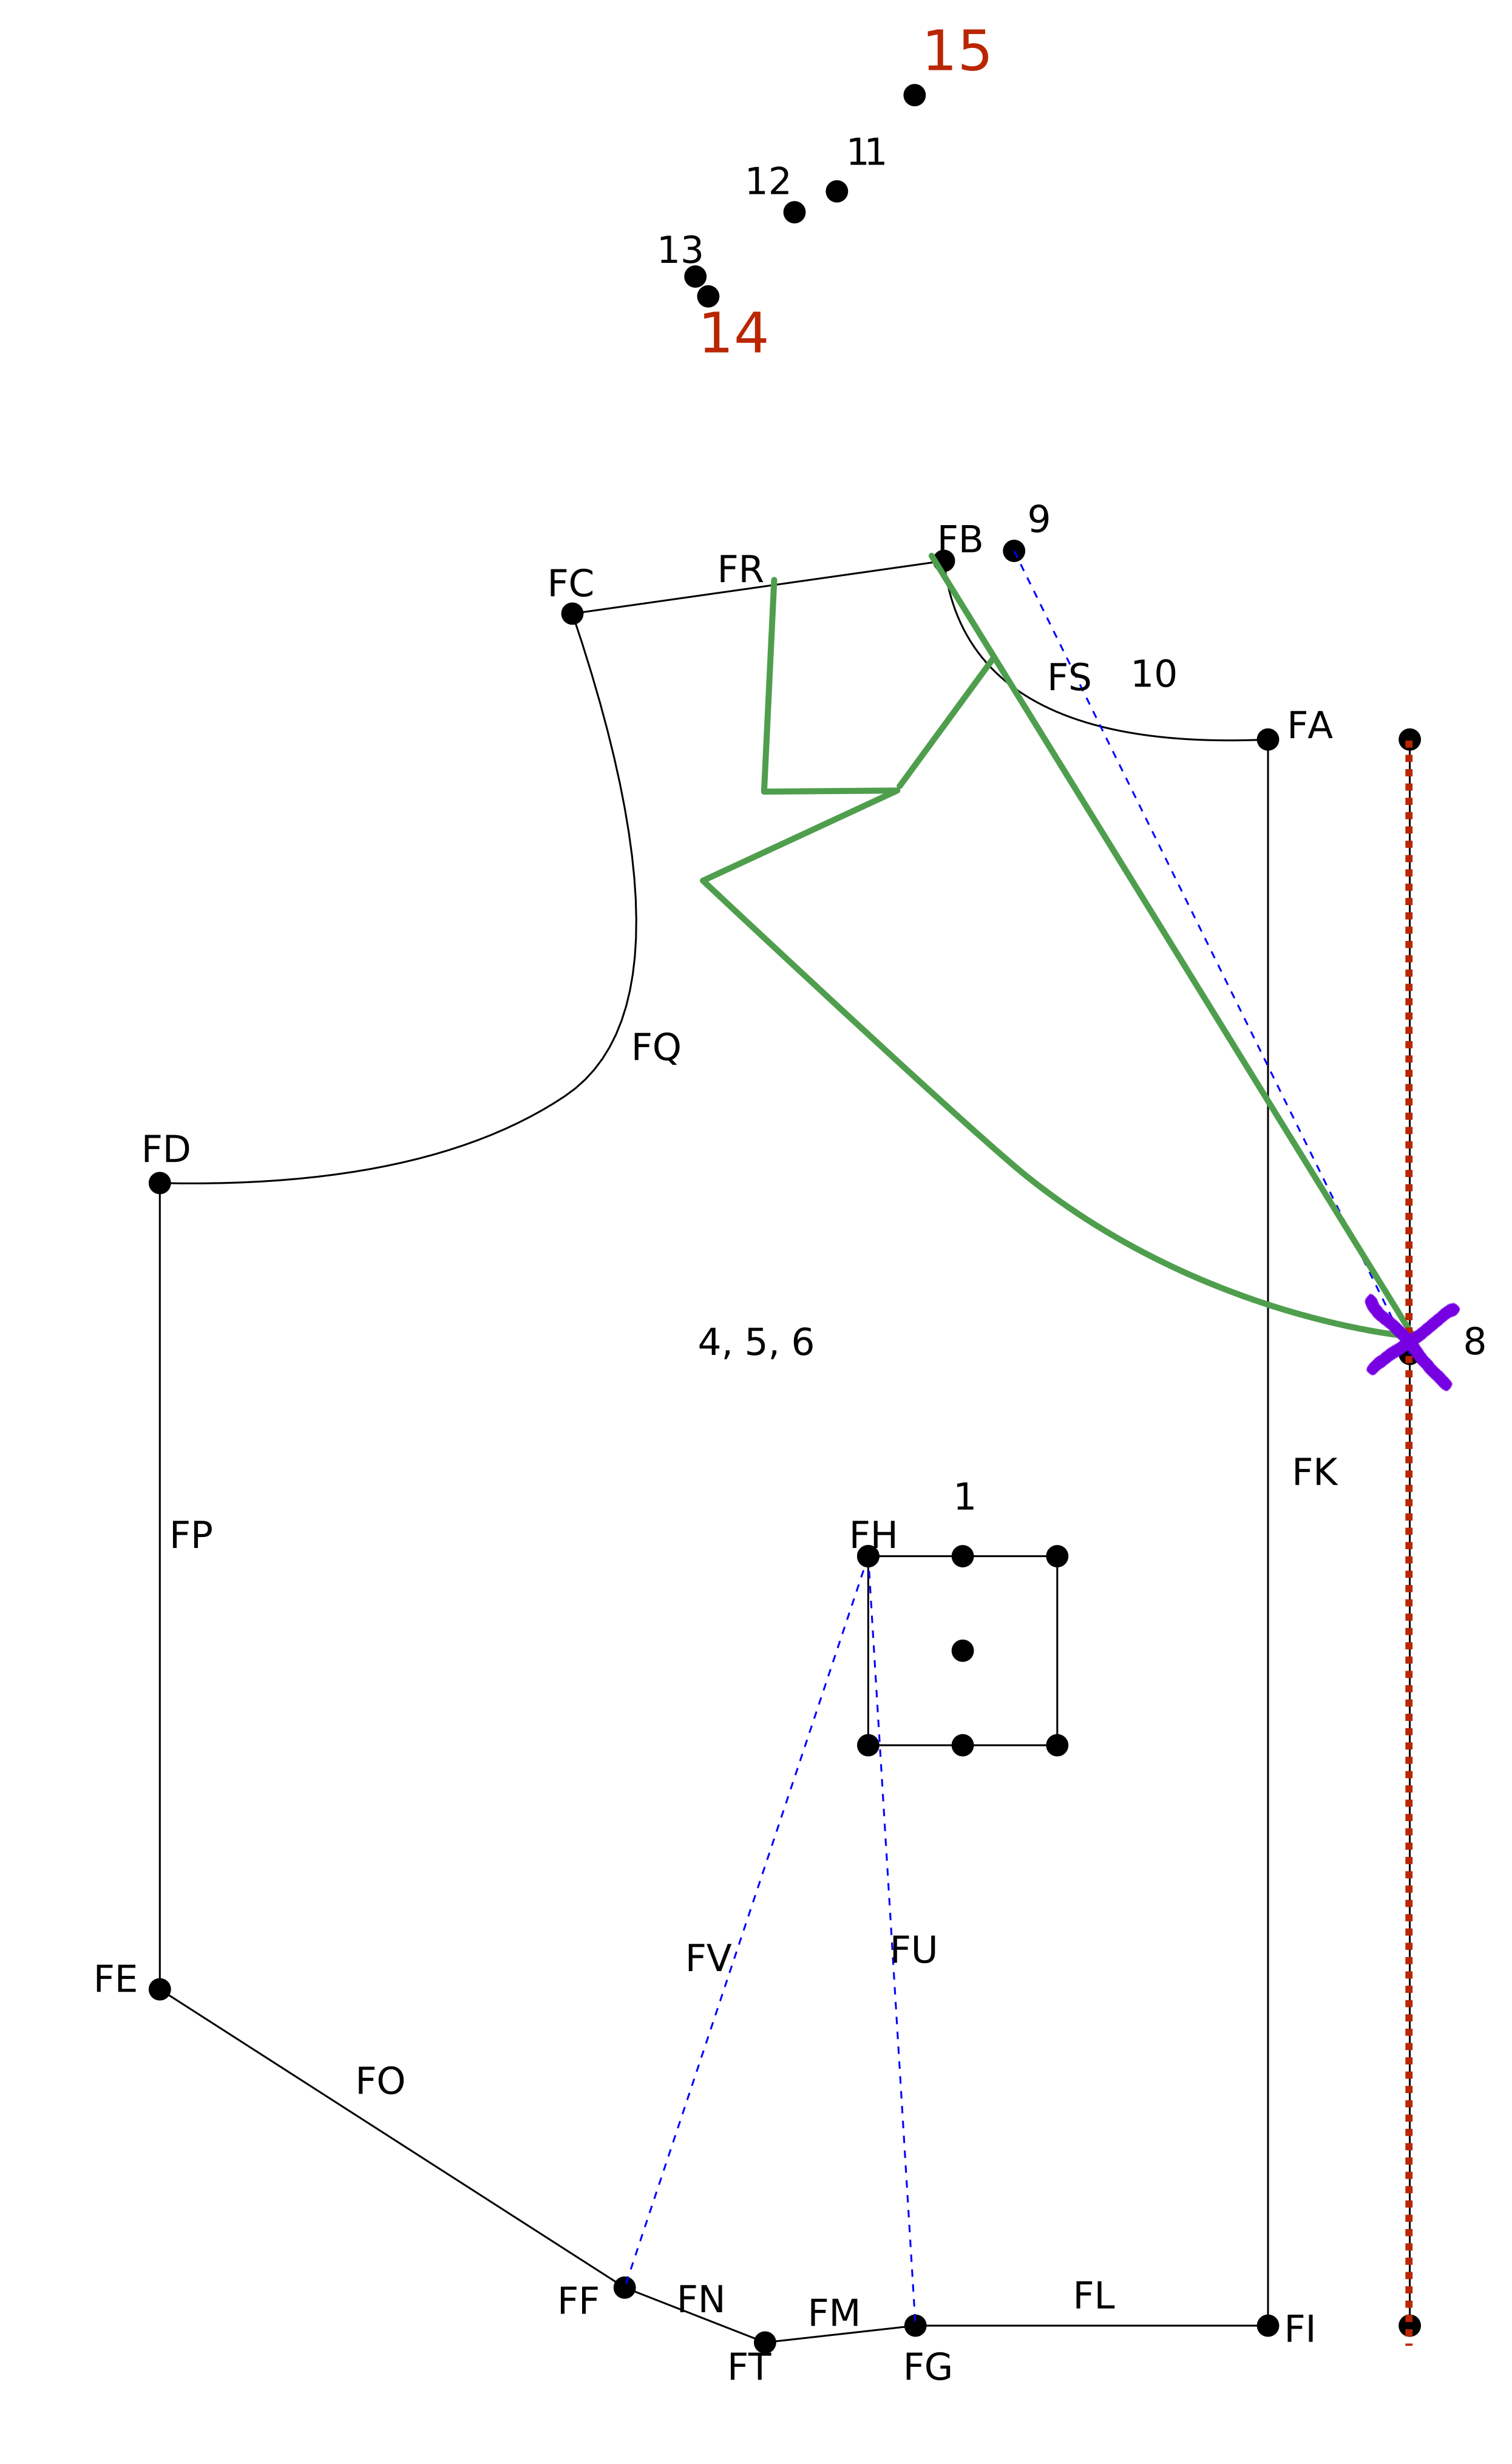 Points > Add Point PerpendicularPoints > Add Point on Vector
 Layers > Add Layer
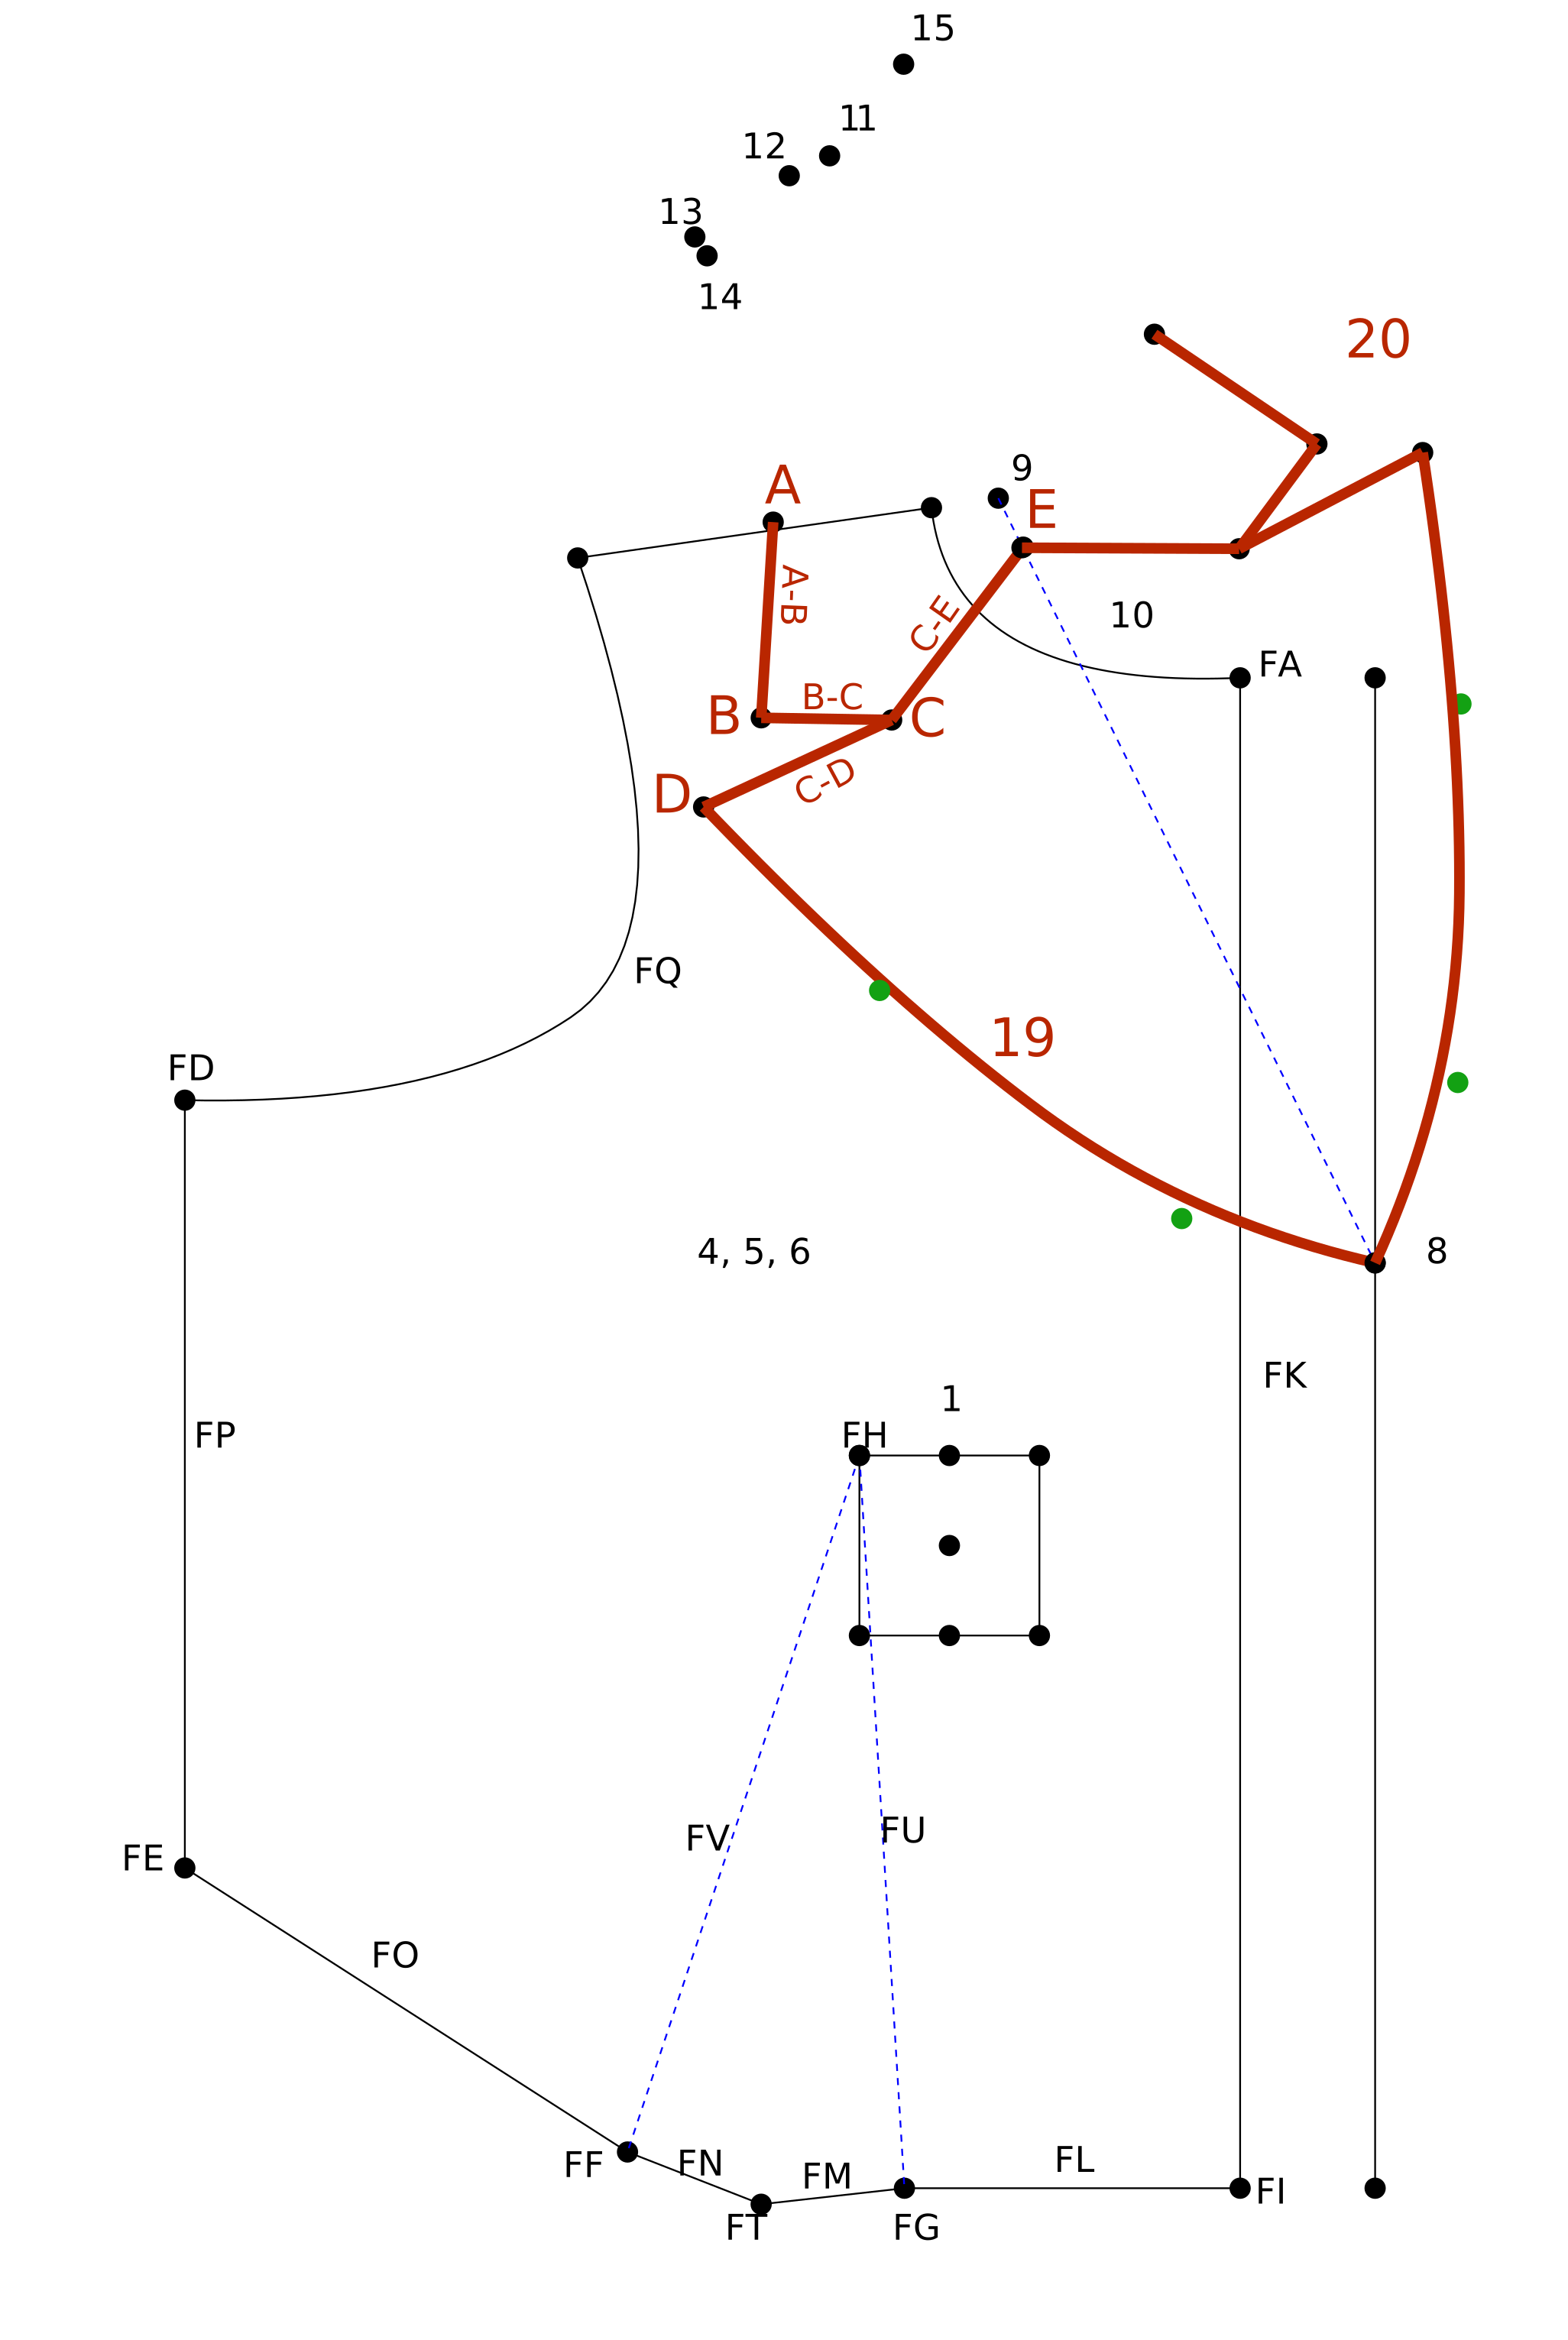
 Points > Add Free PointLines > Add Line
 Curves > Add Curve
 Layers > Mirror Layer
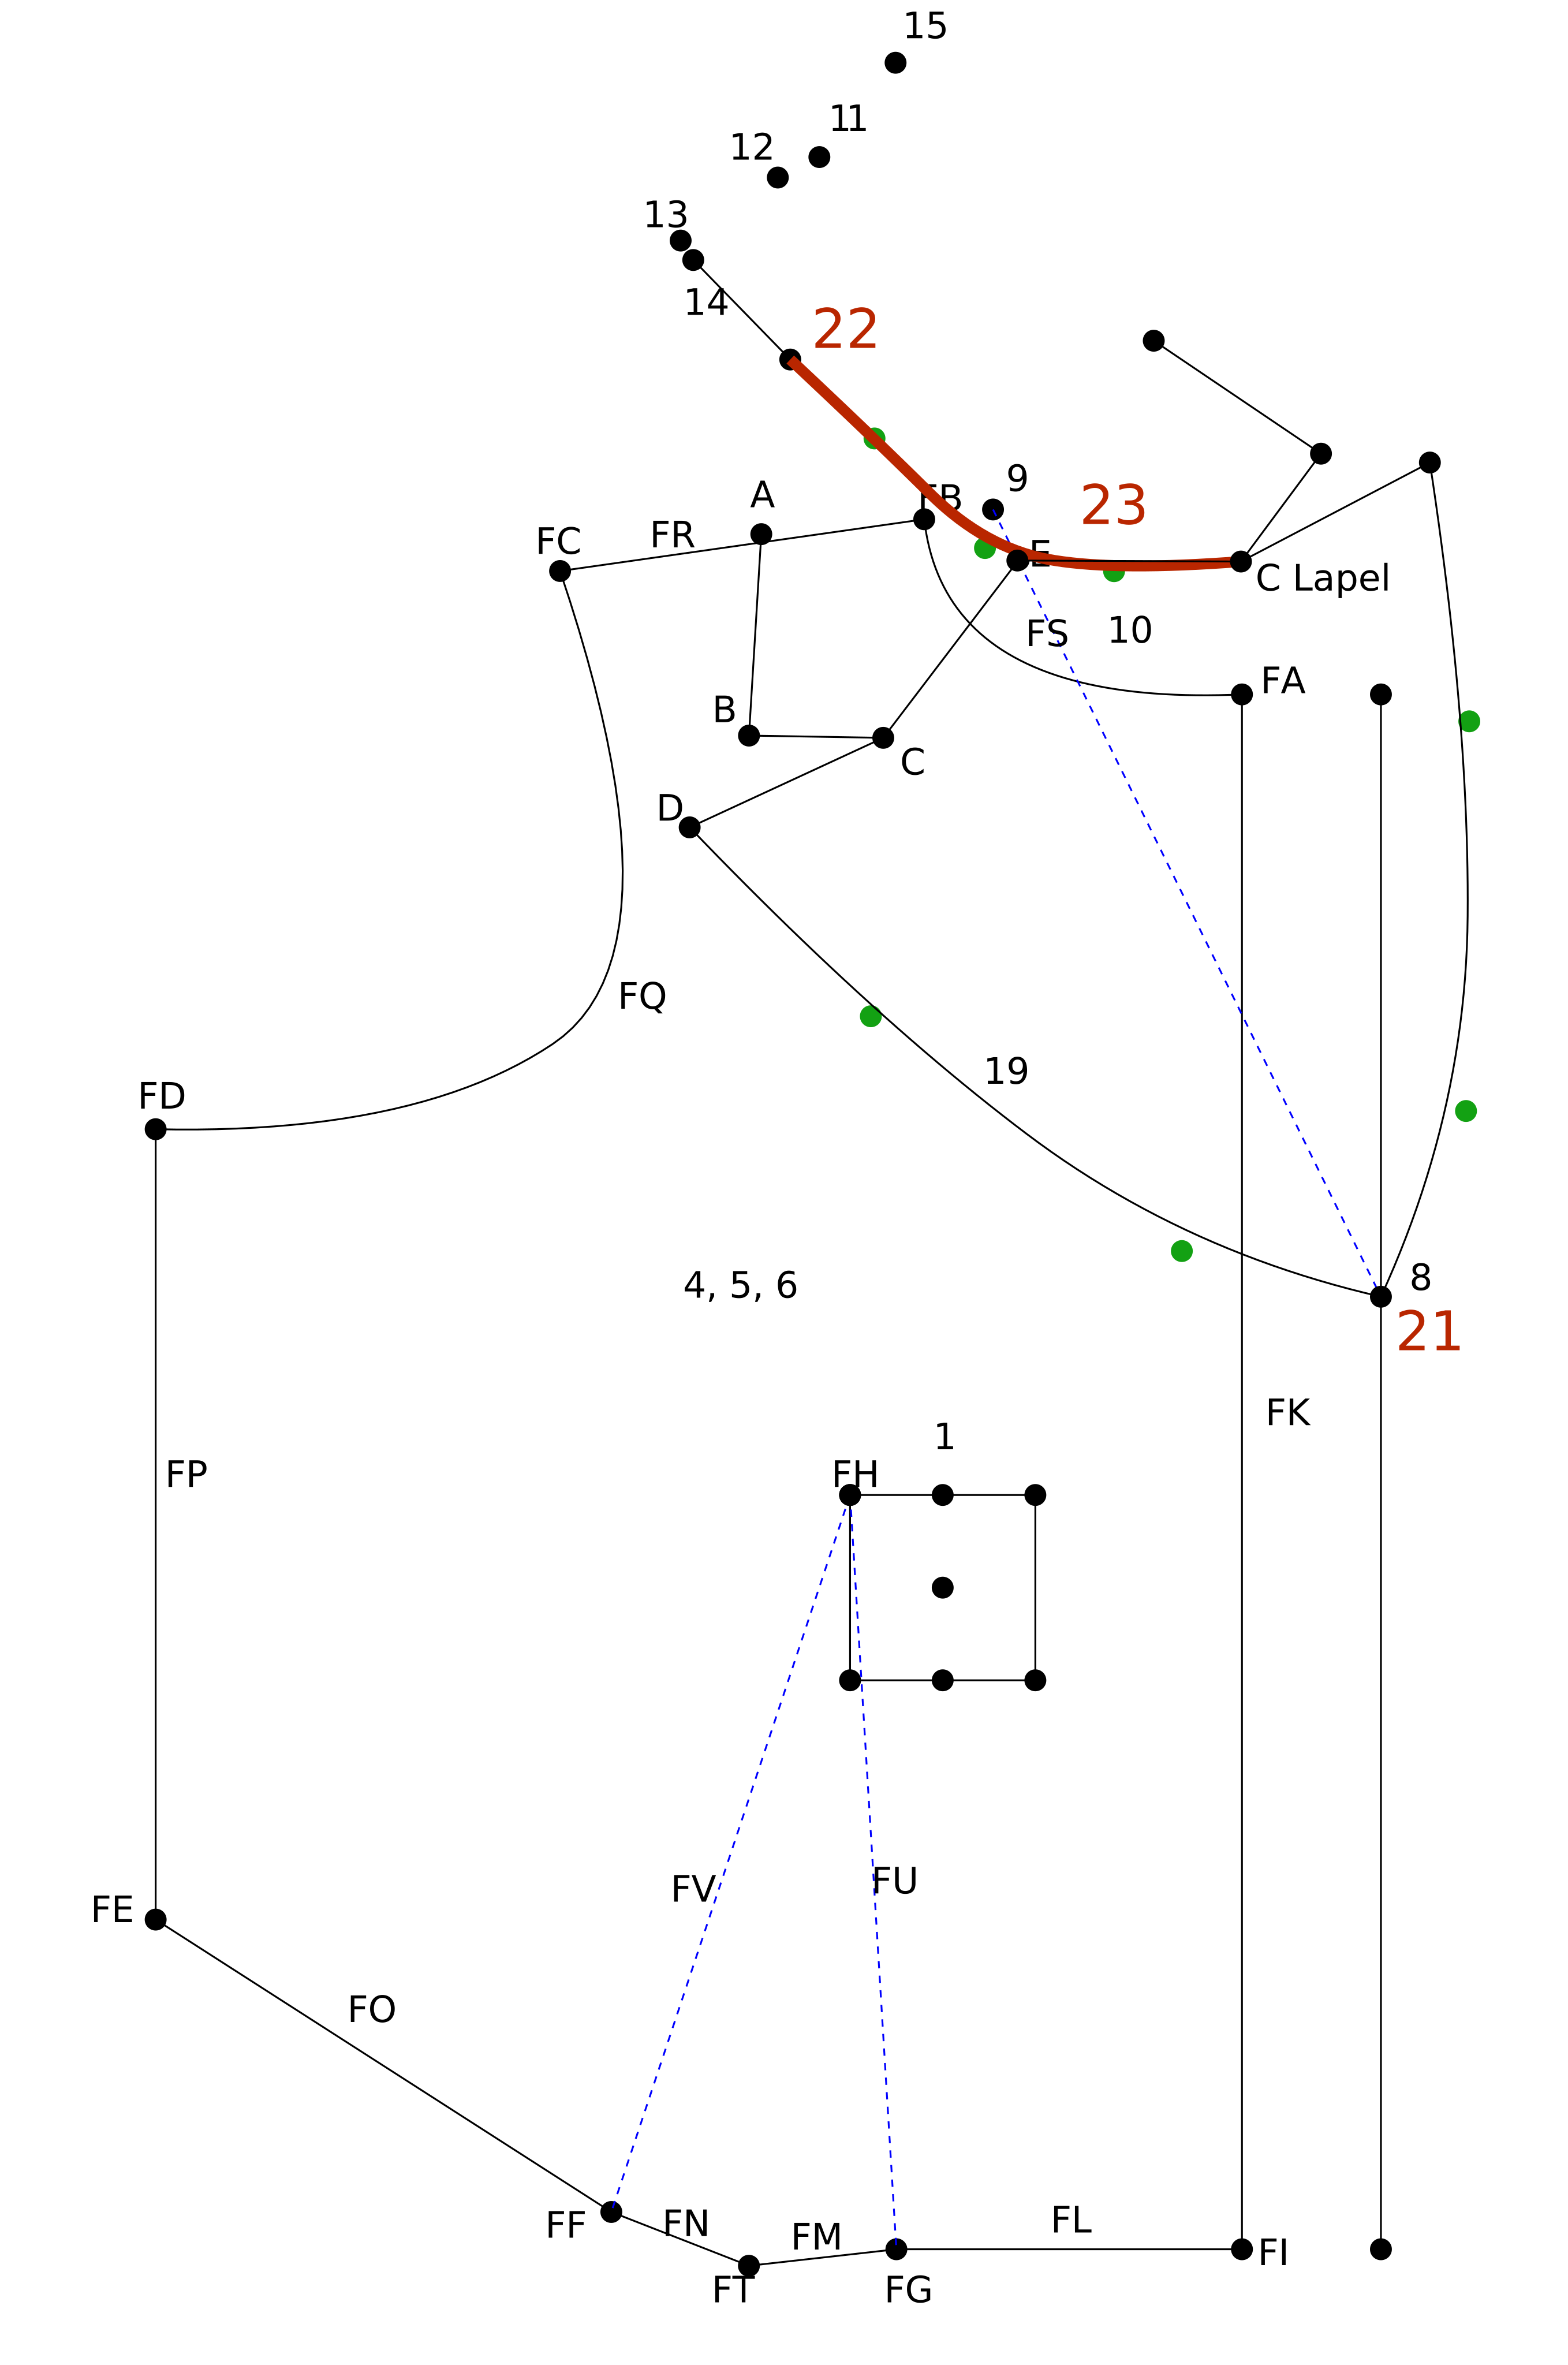
 Points > Merge PointsPoints > Add Point PerpendicularCurves > Add Curve
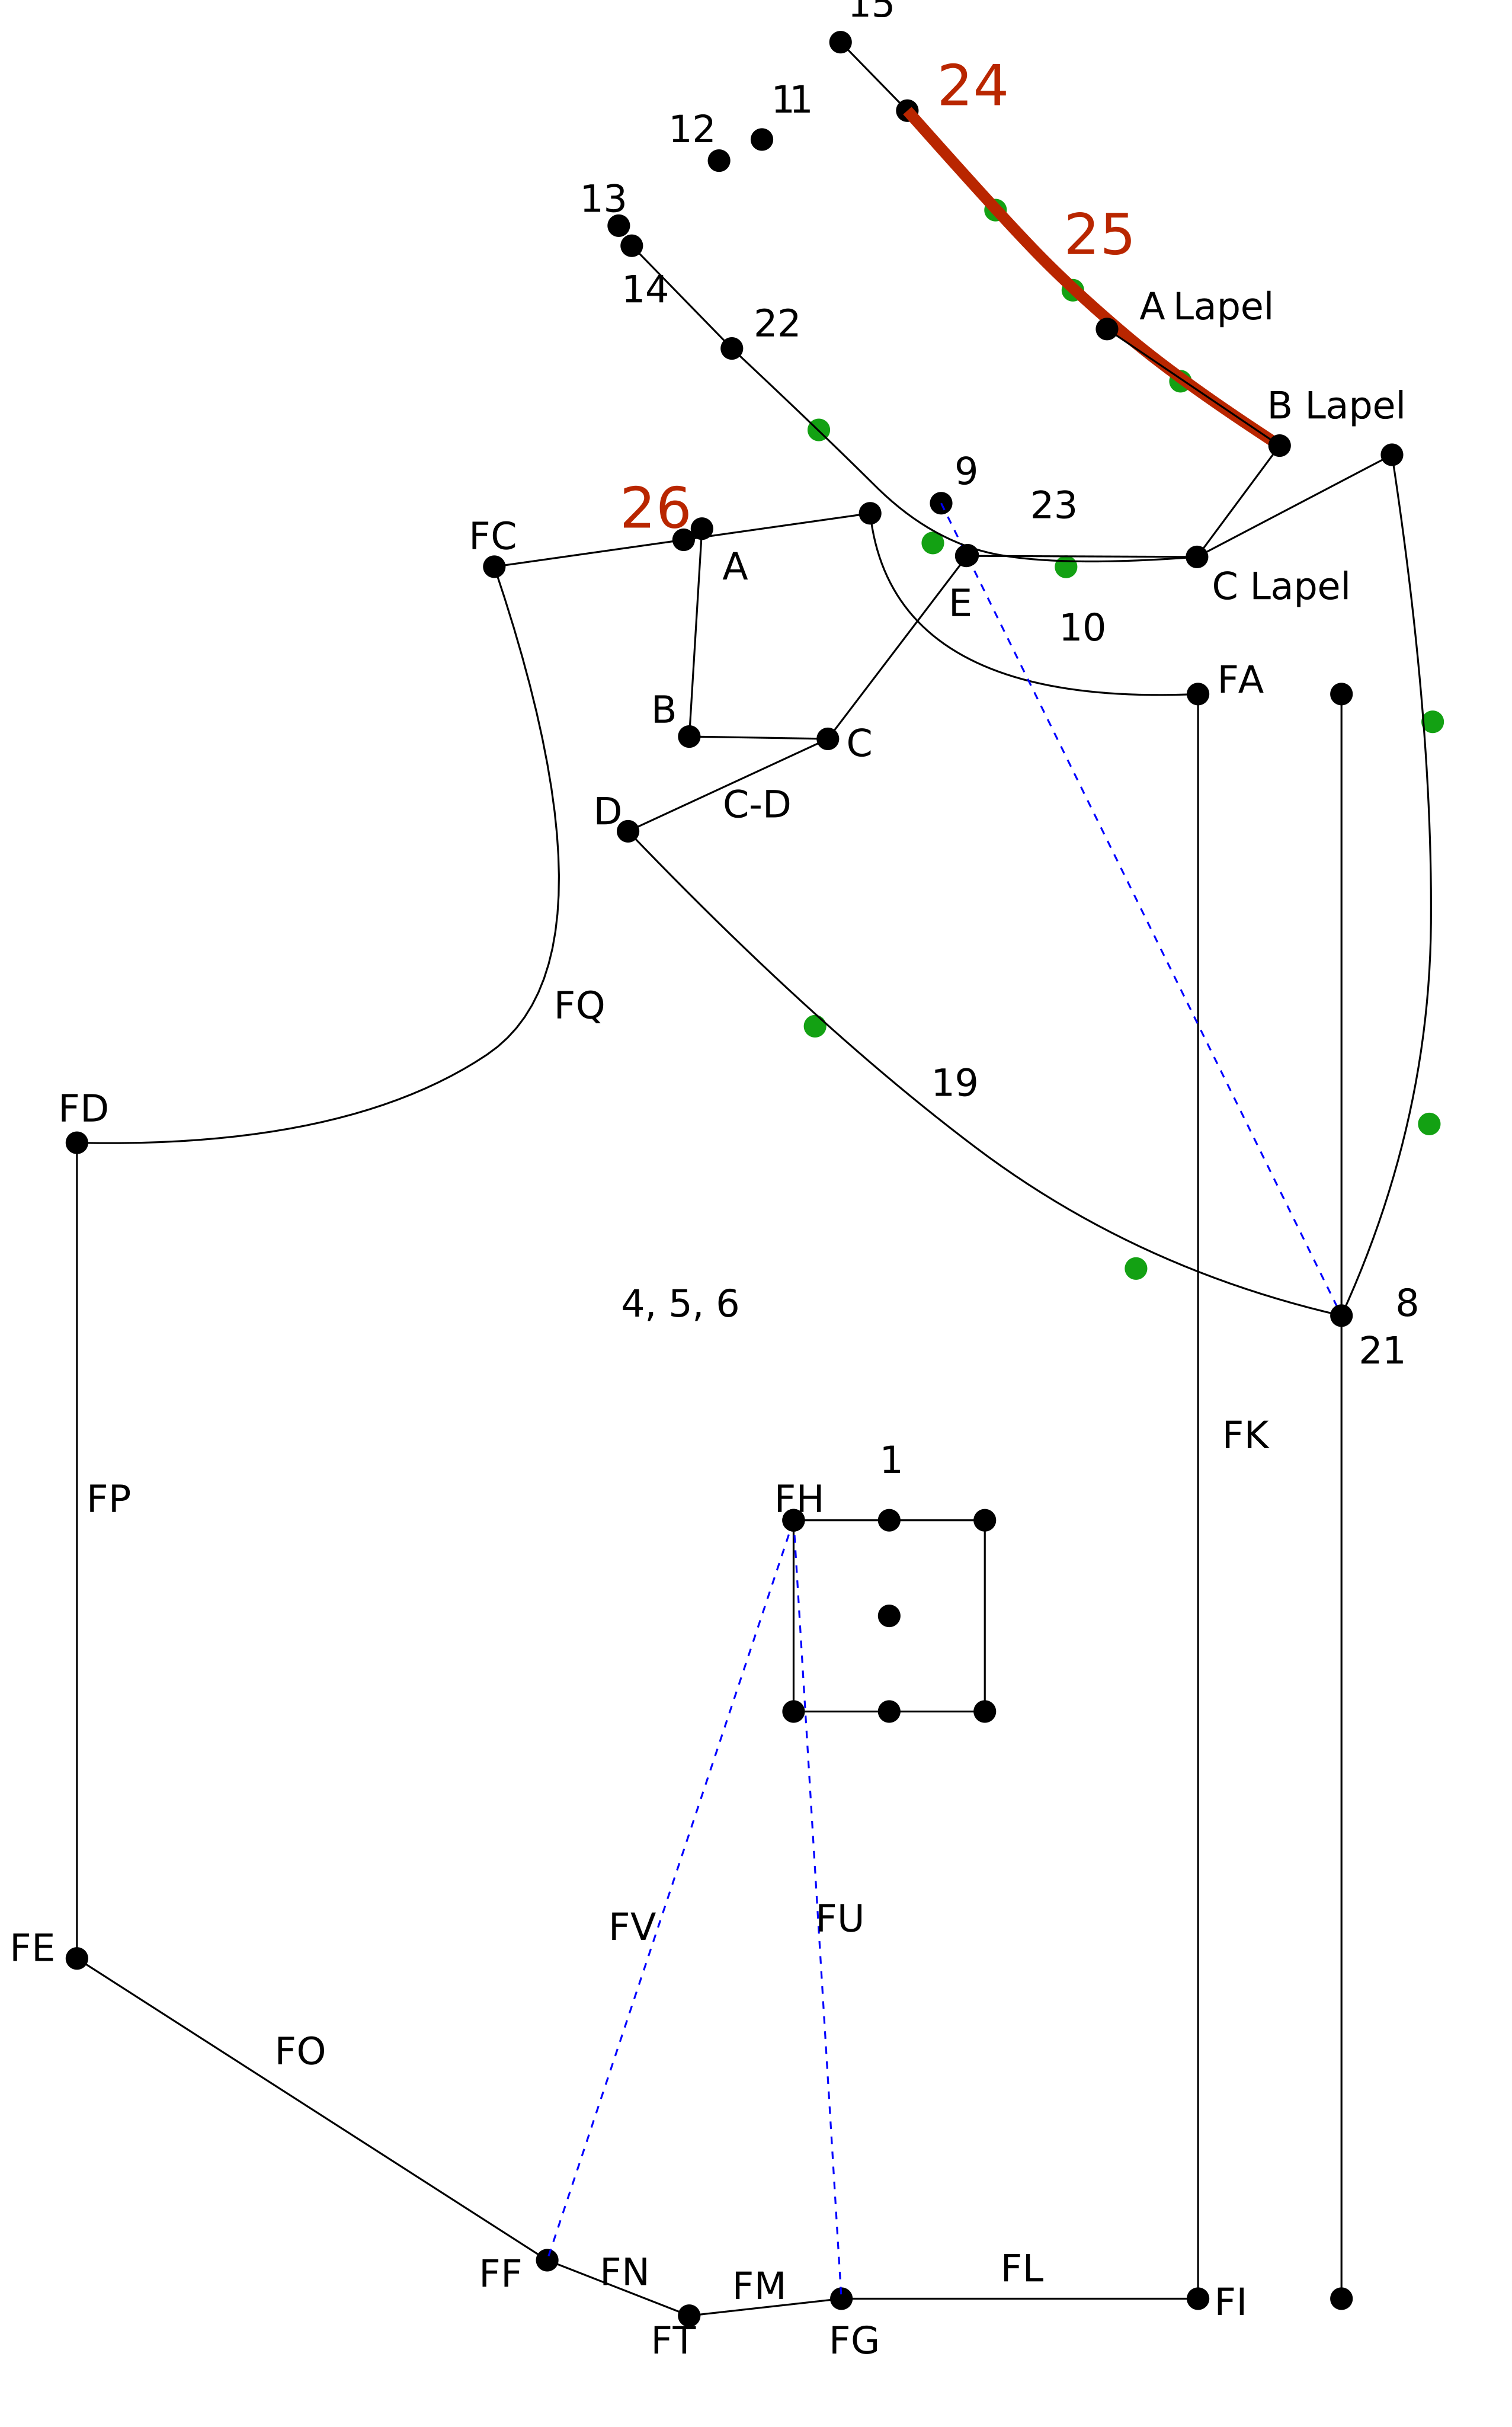 Points > Add Point PerpendicularCurves > Add CurvePoints > Add Point on Line/Curve
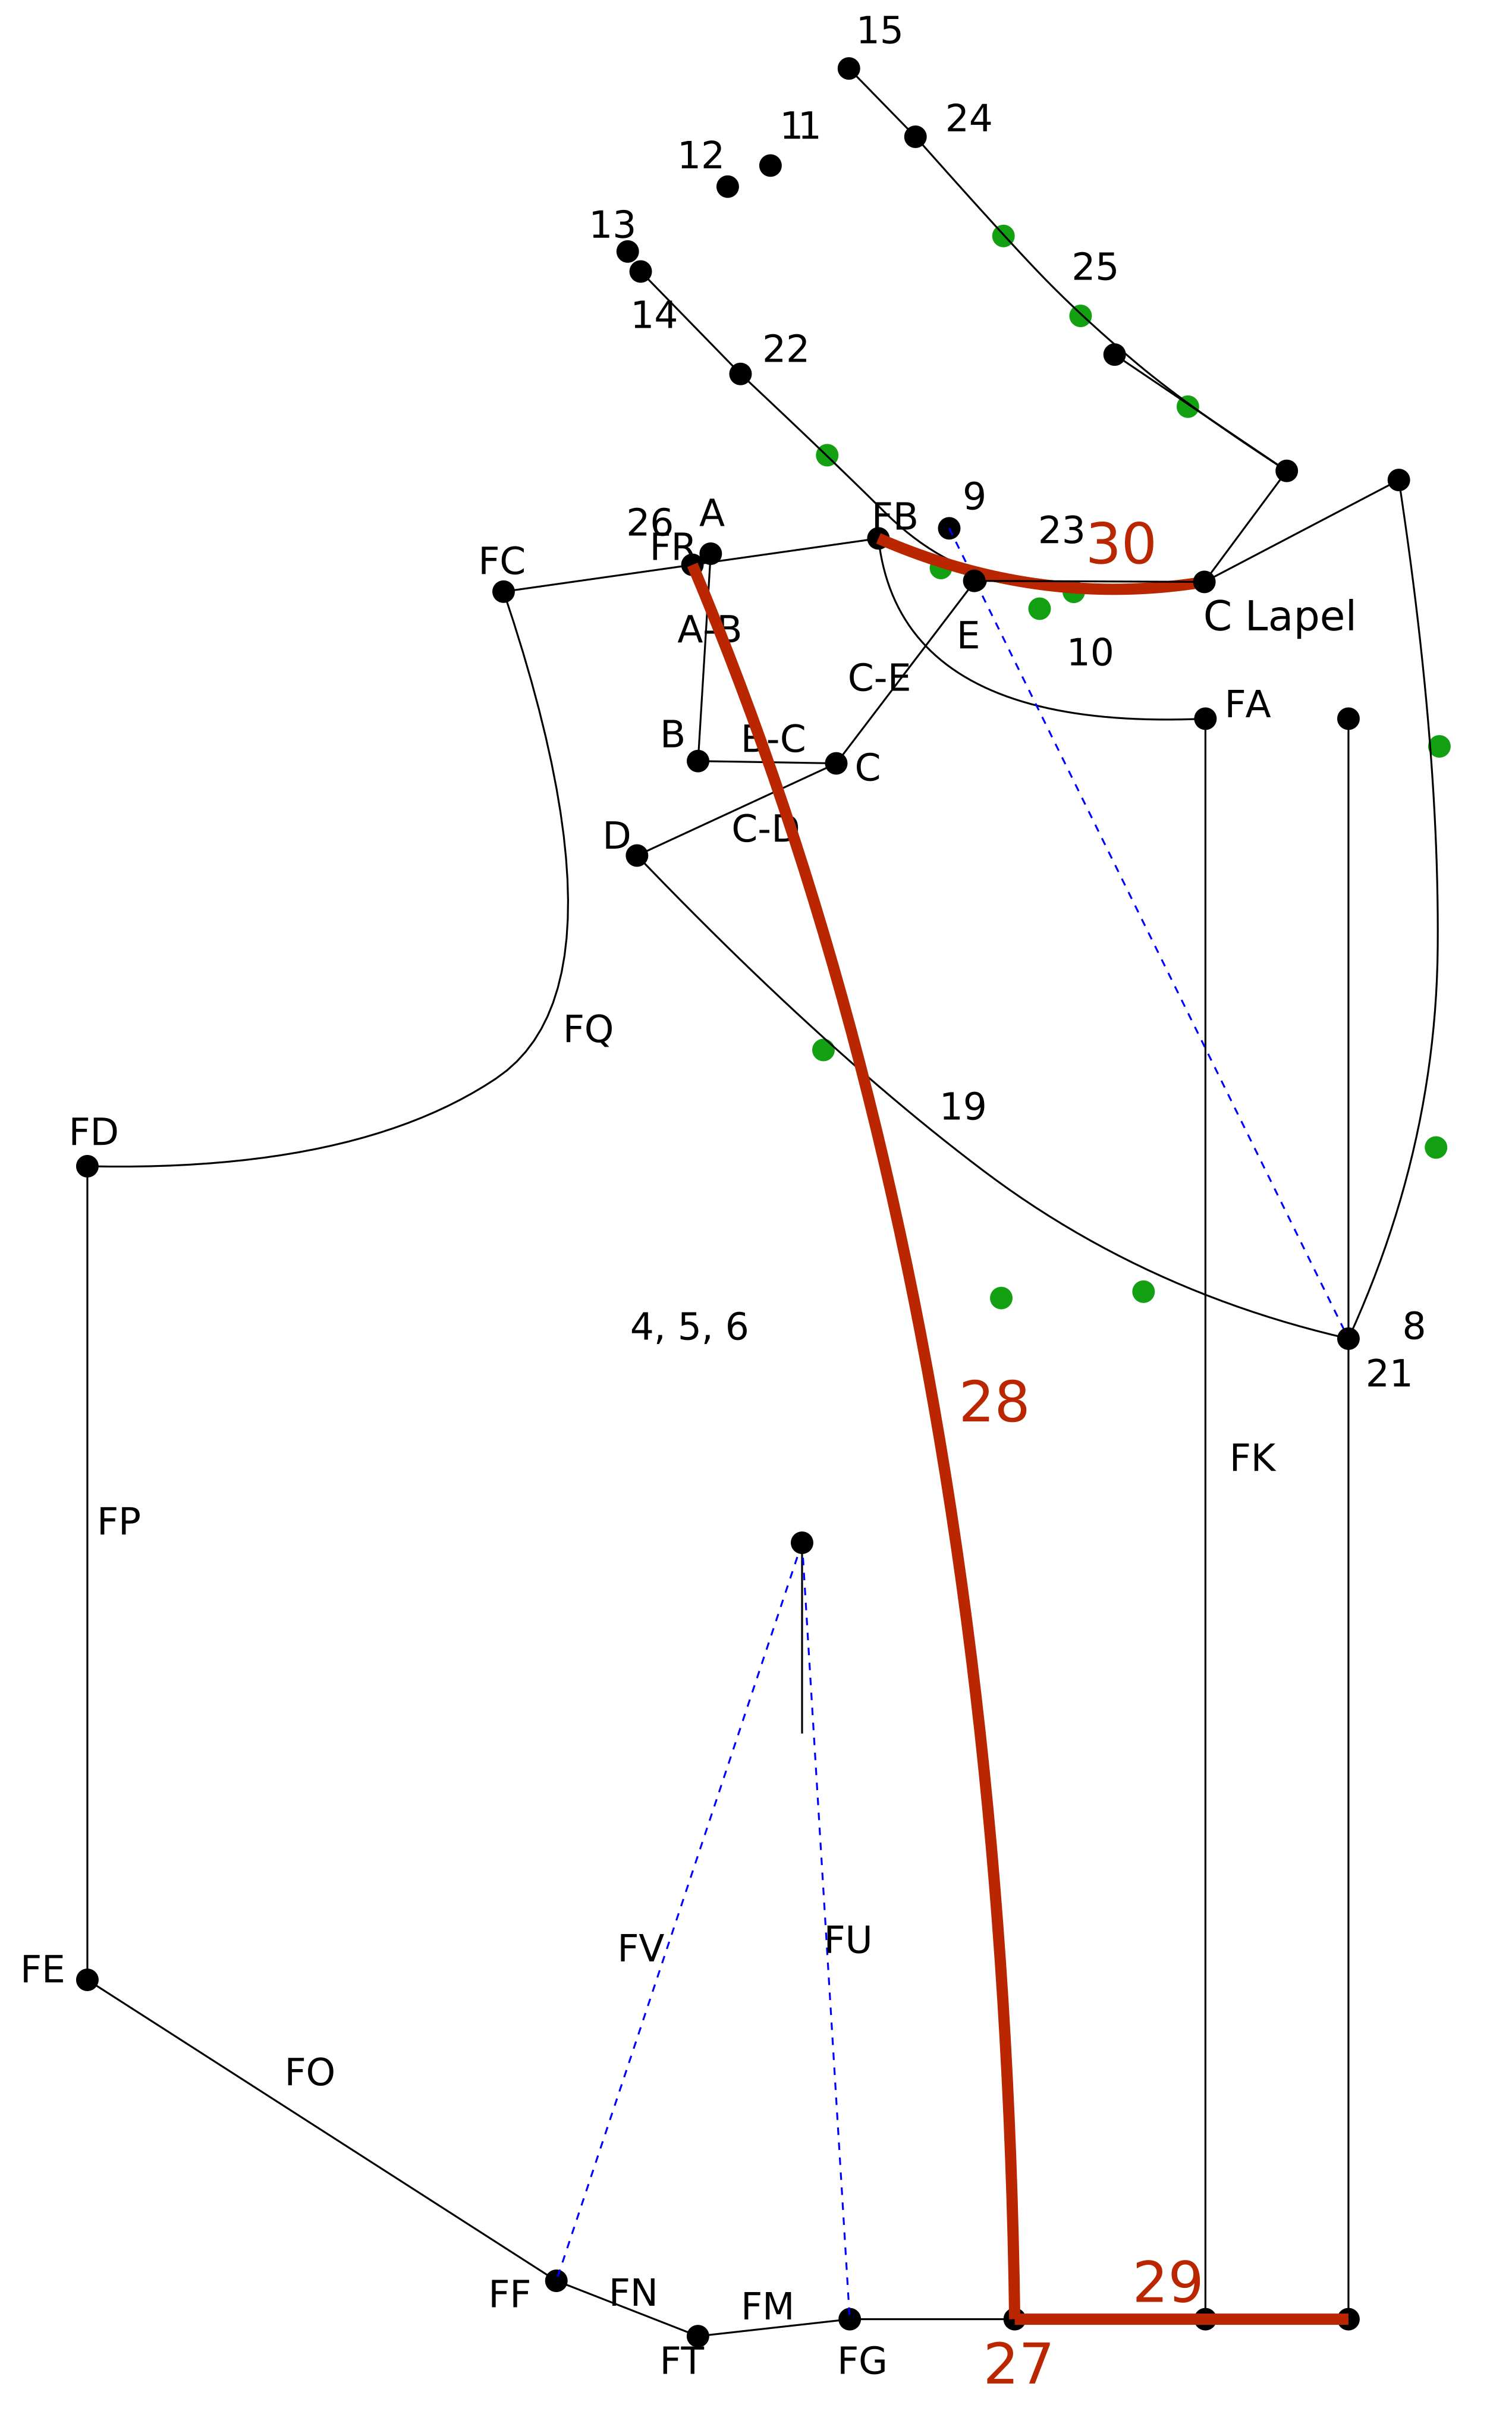 Points > Add Point on Line/CurveCurves > Add CurveLines > Add LineCurves > Add Curve
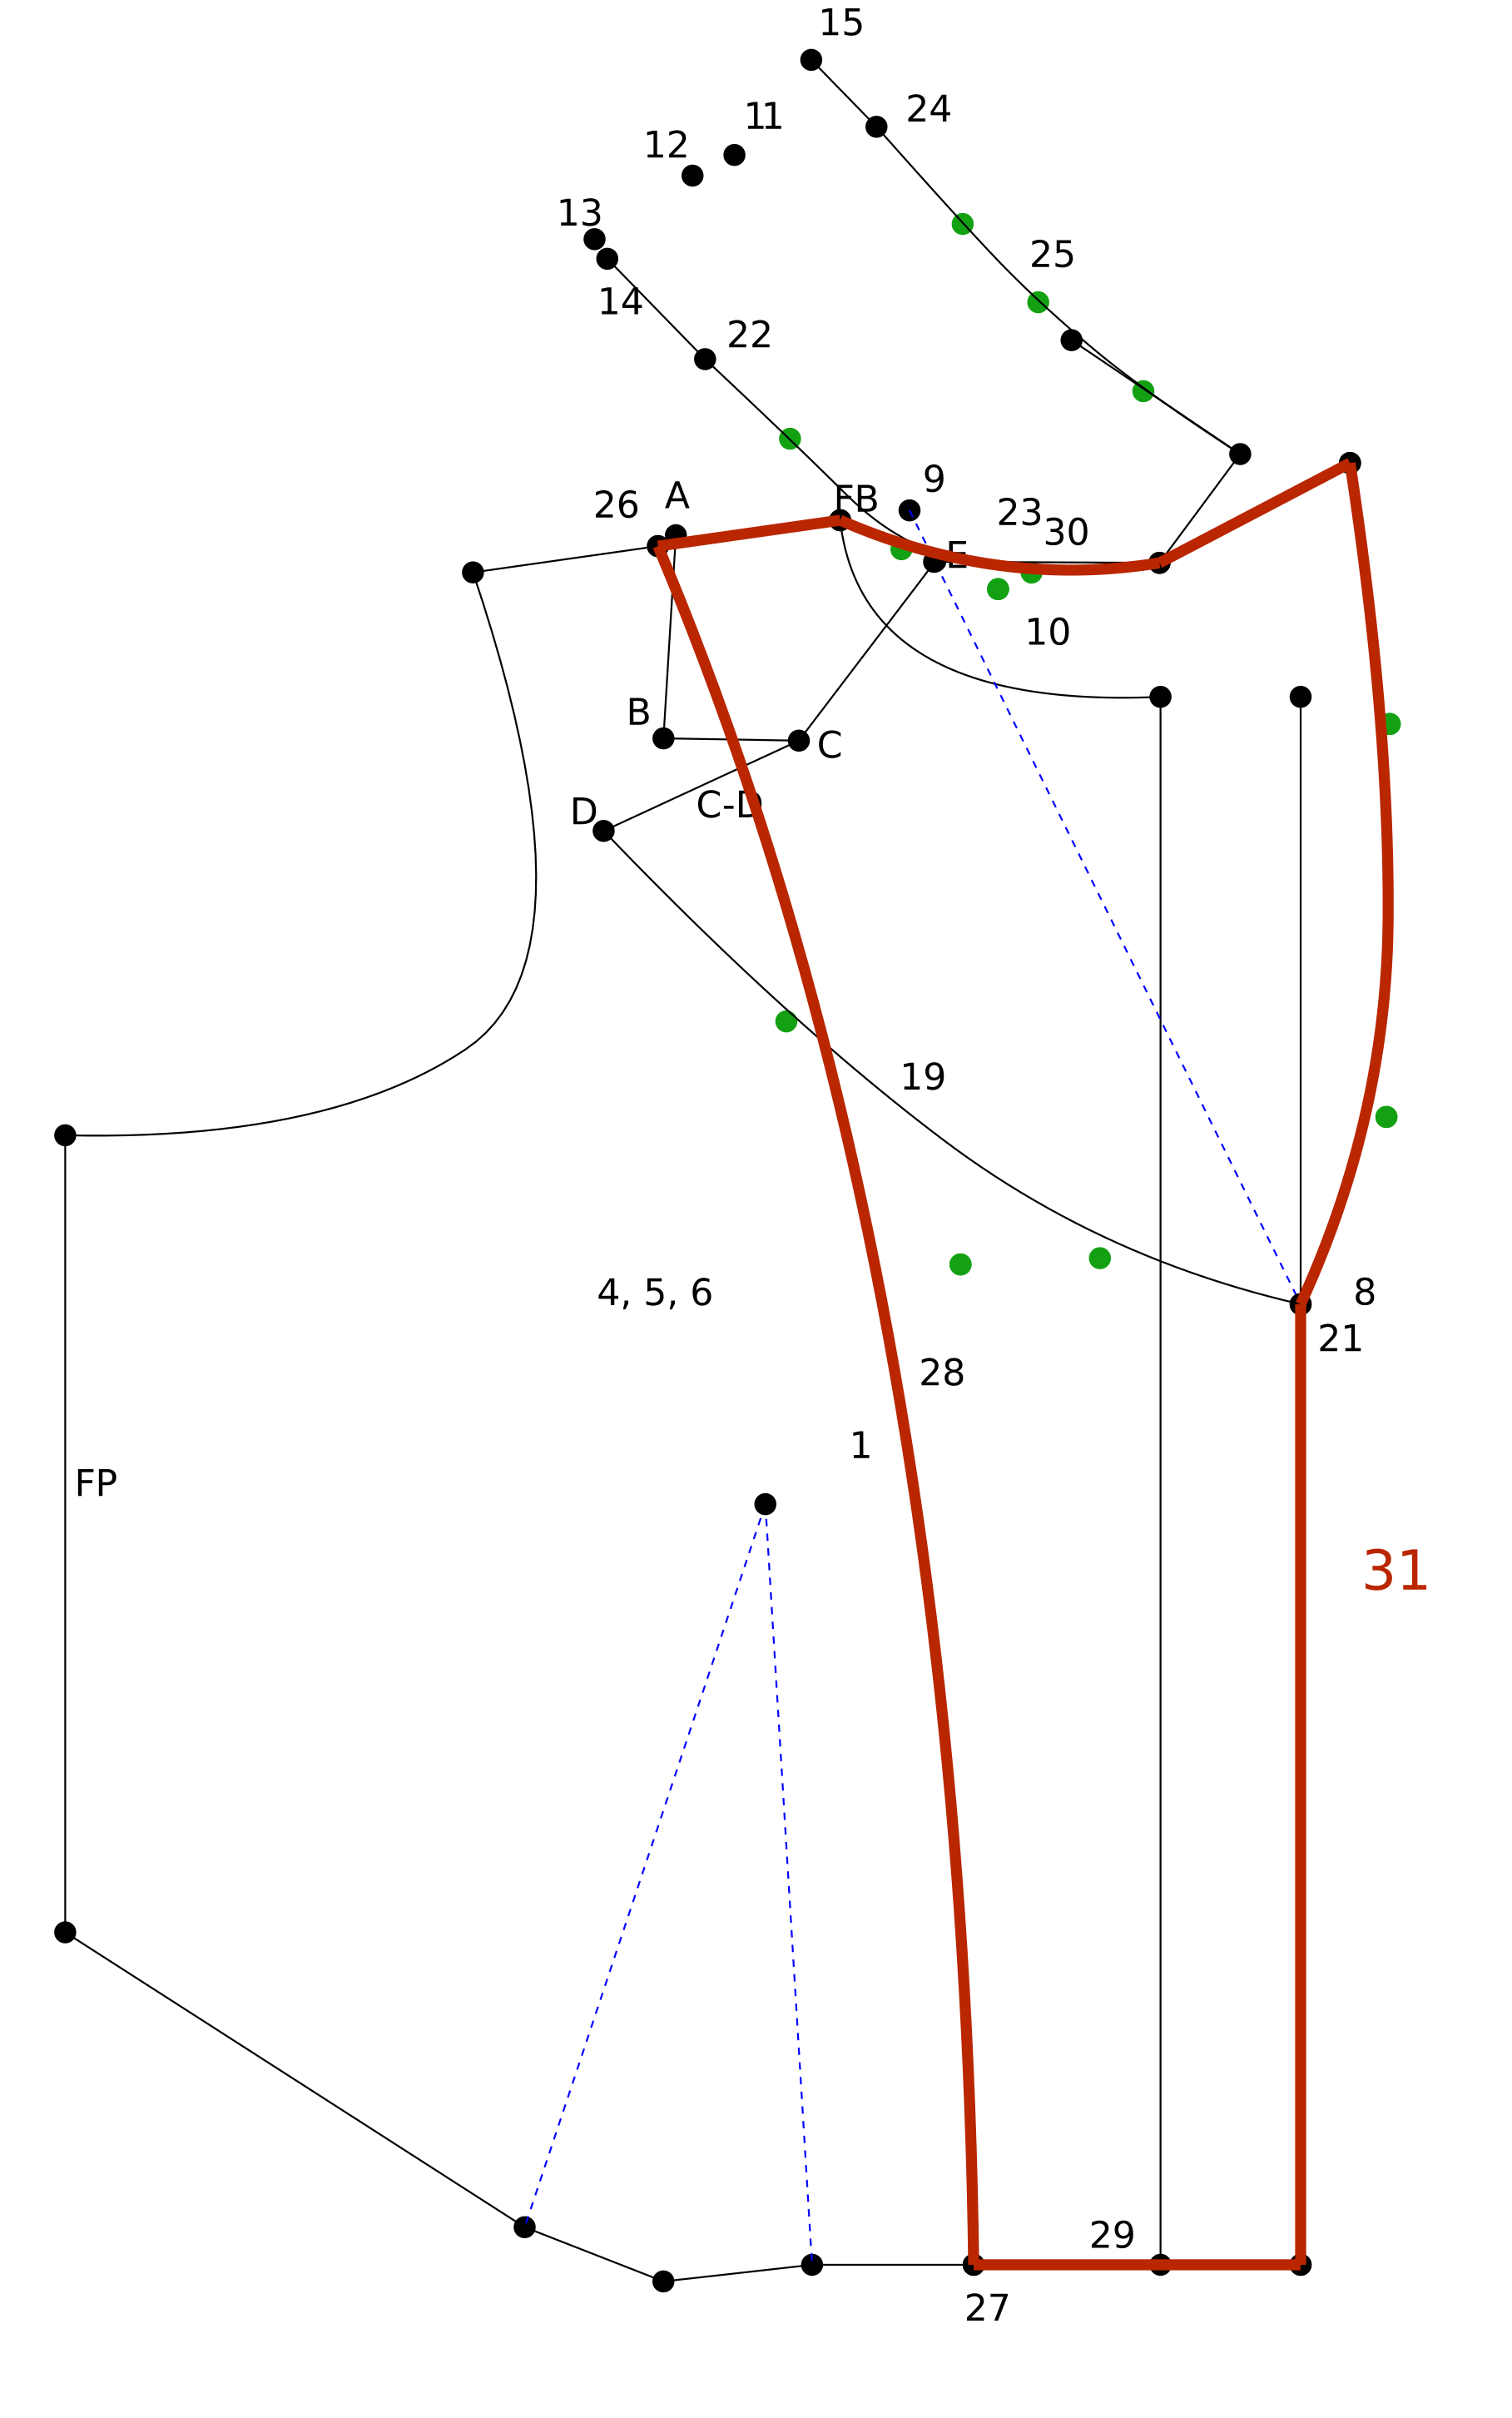
 Layers > Copy Items to Layer
 Layers > Layer Visibility
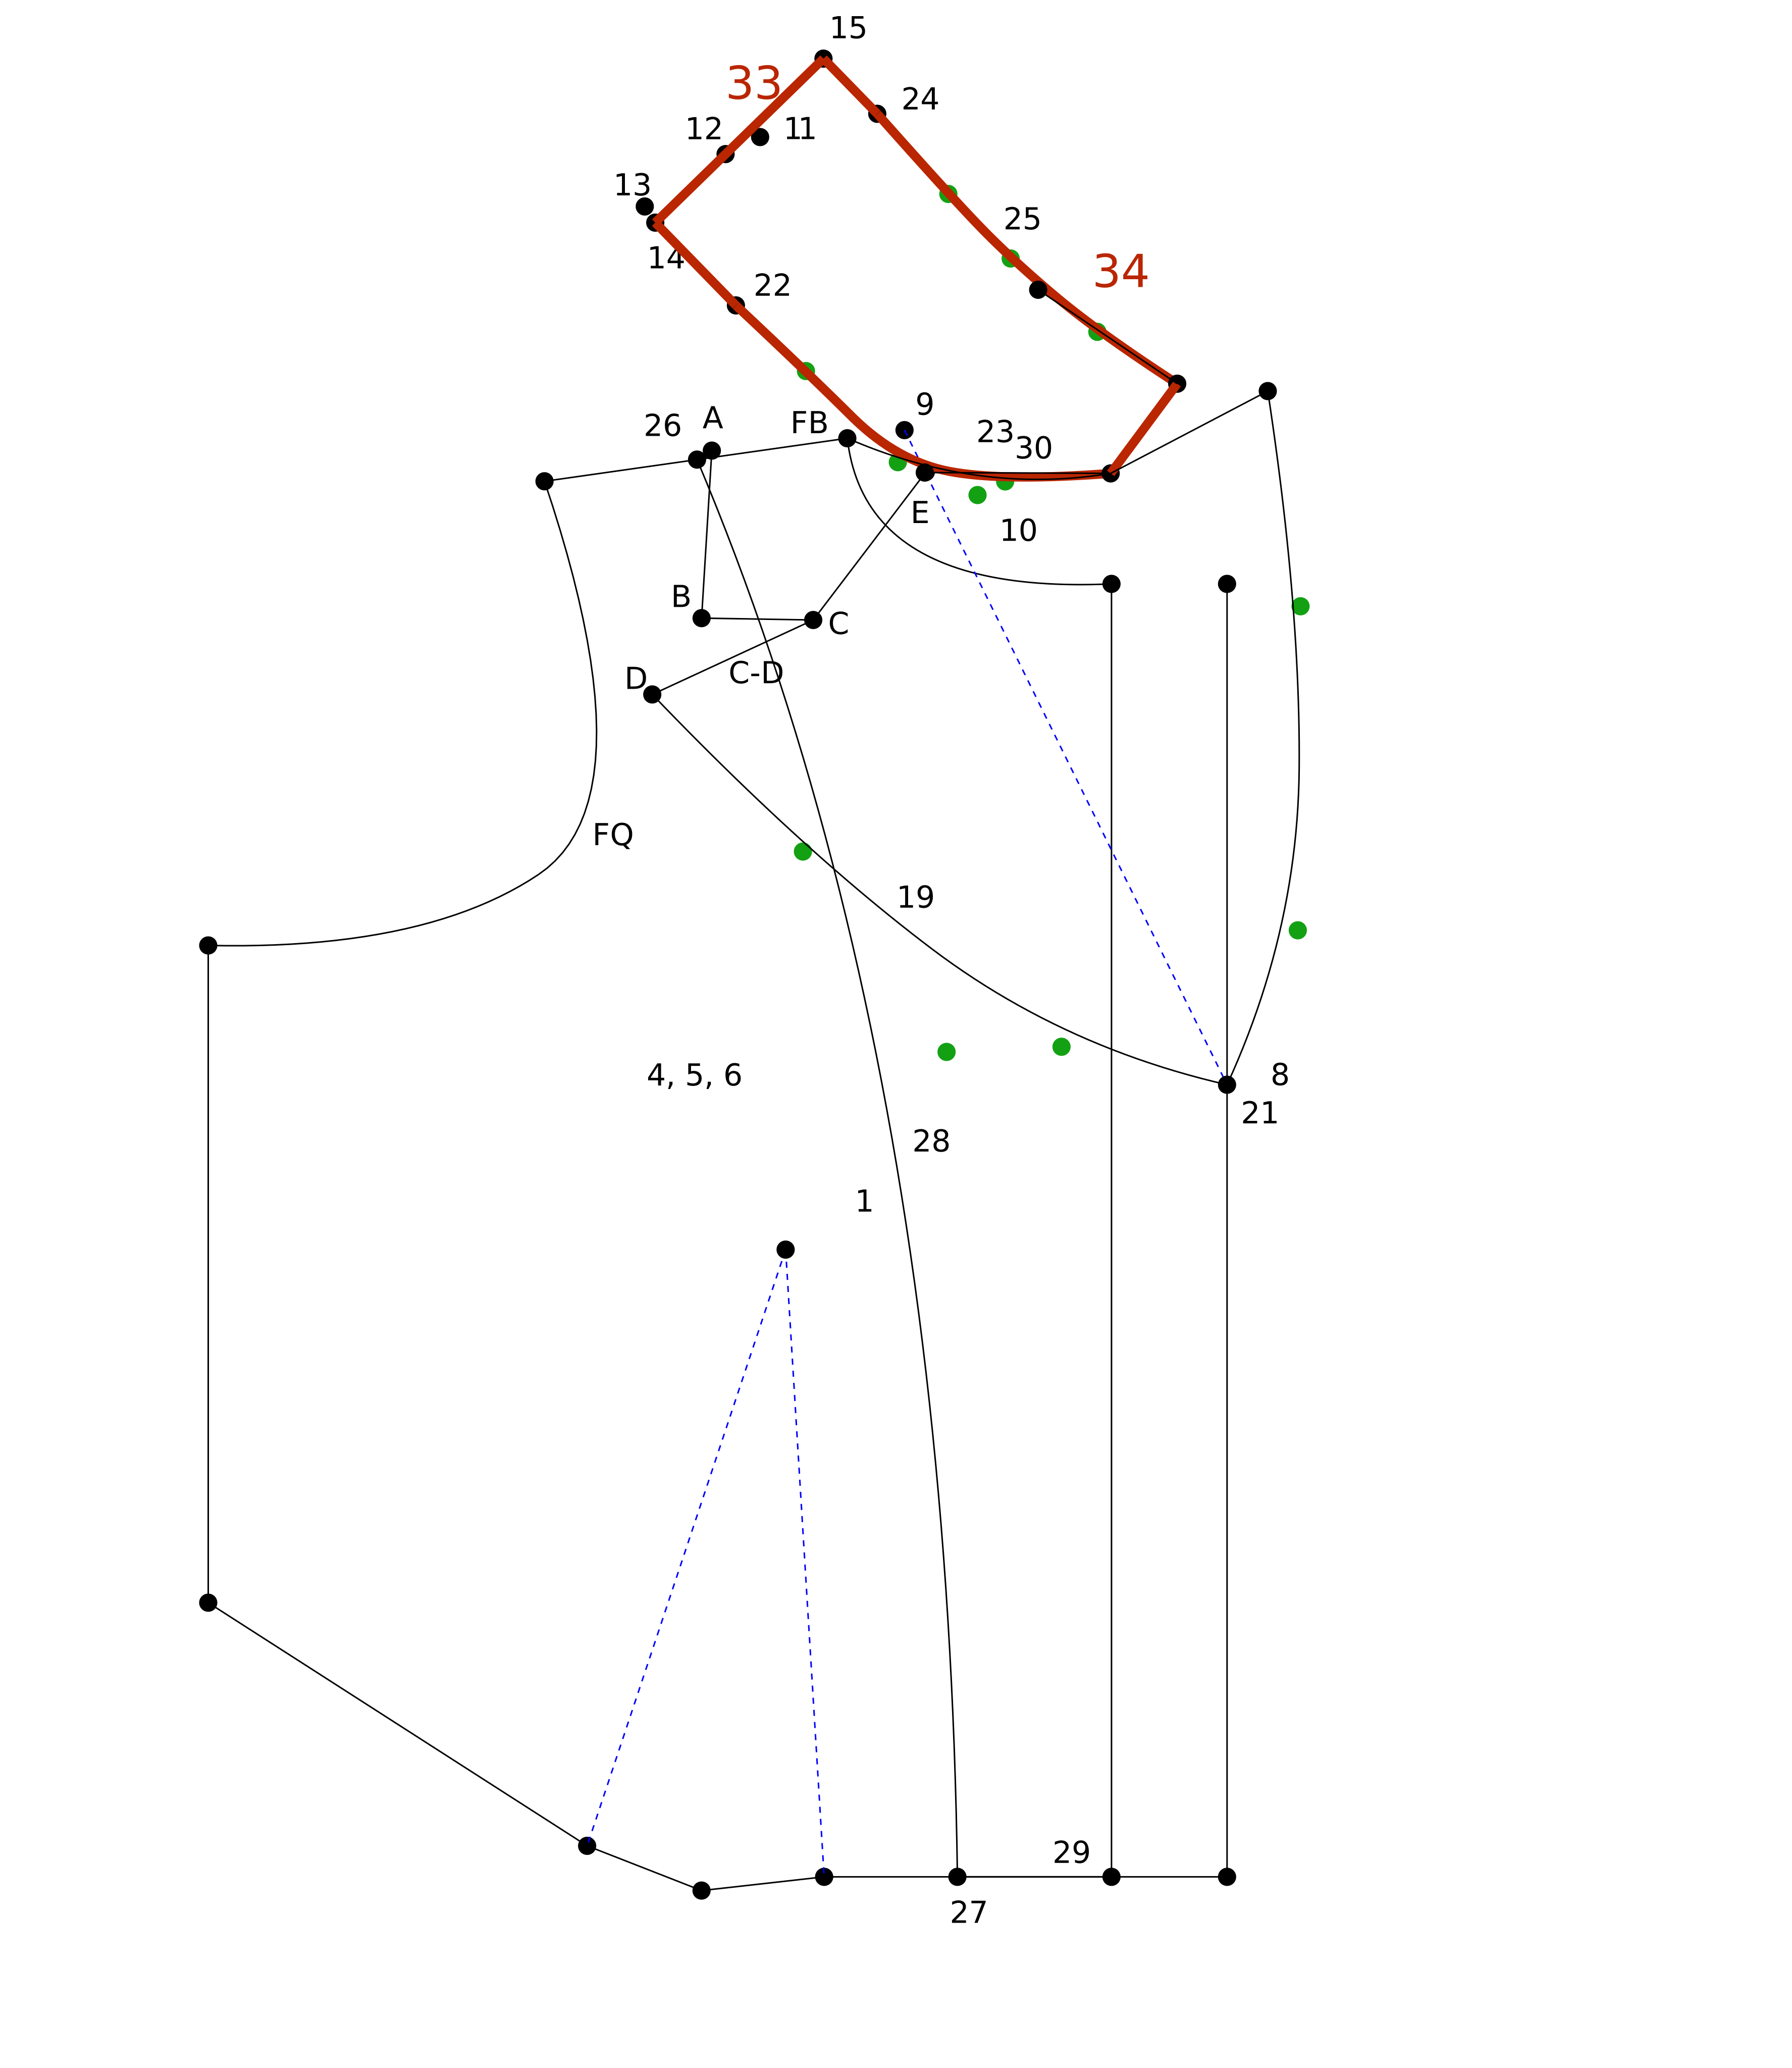 Lines > Add LineLayers > Copy Items to LayerLayers > Layer Visibility
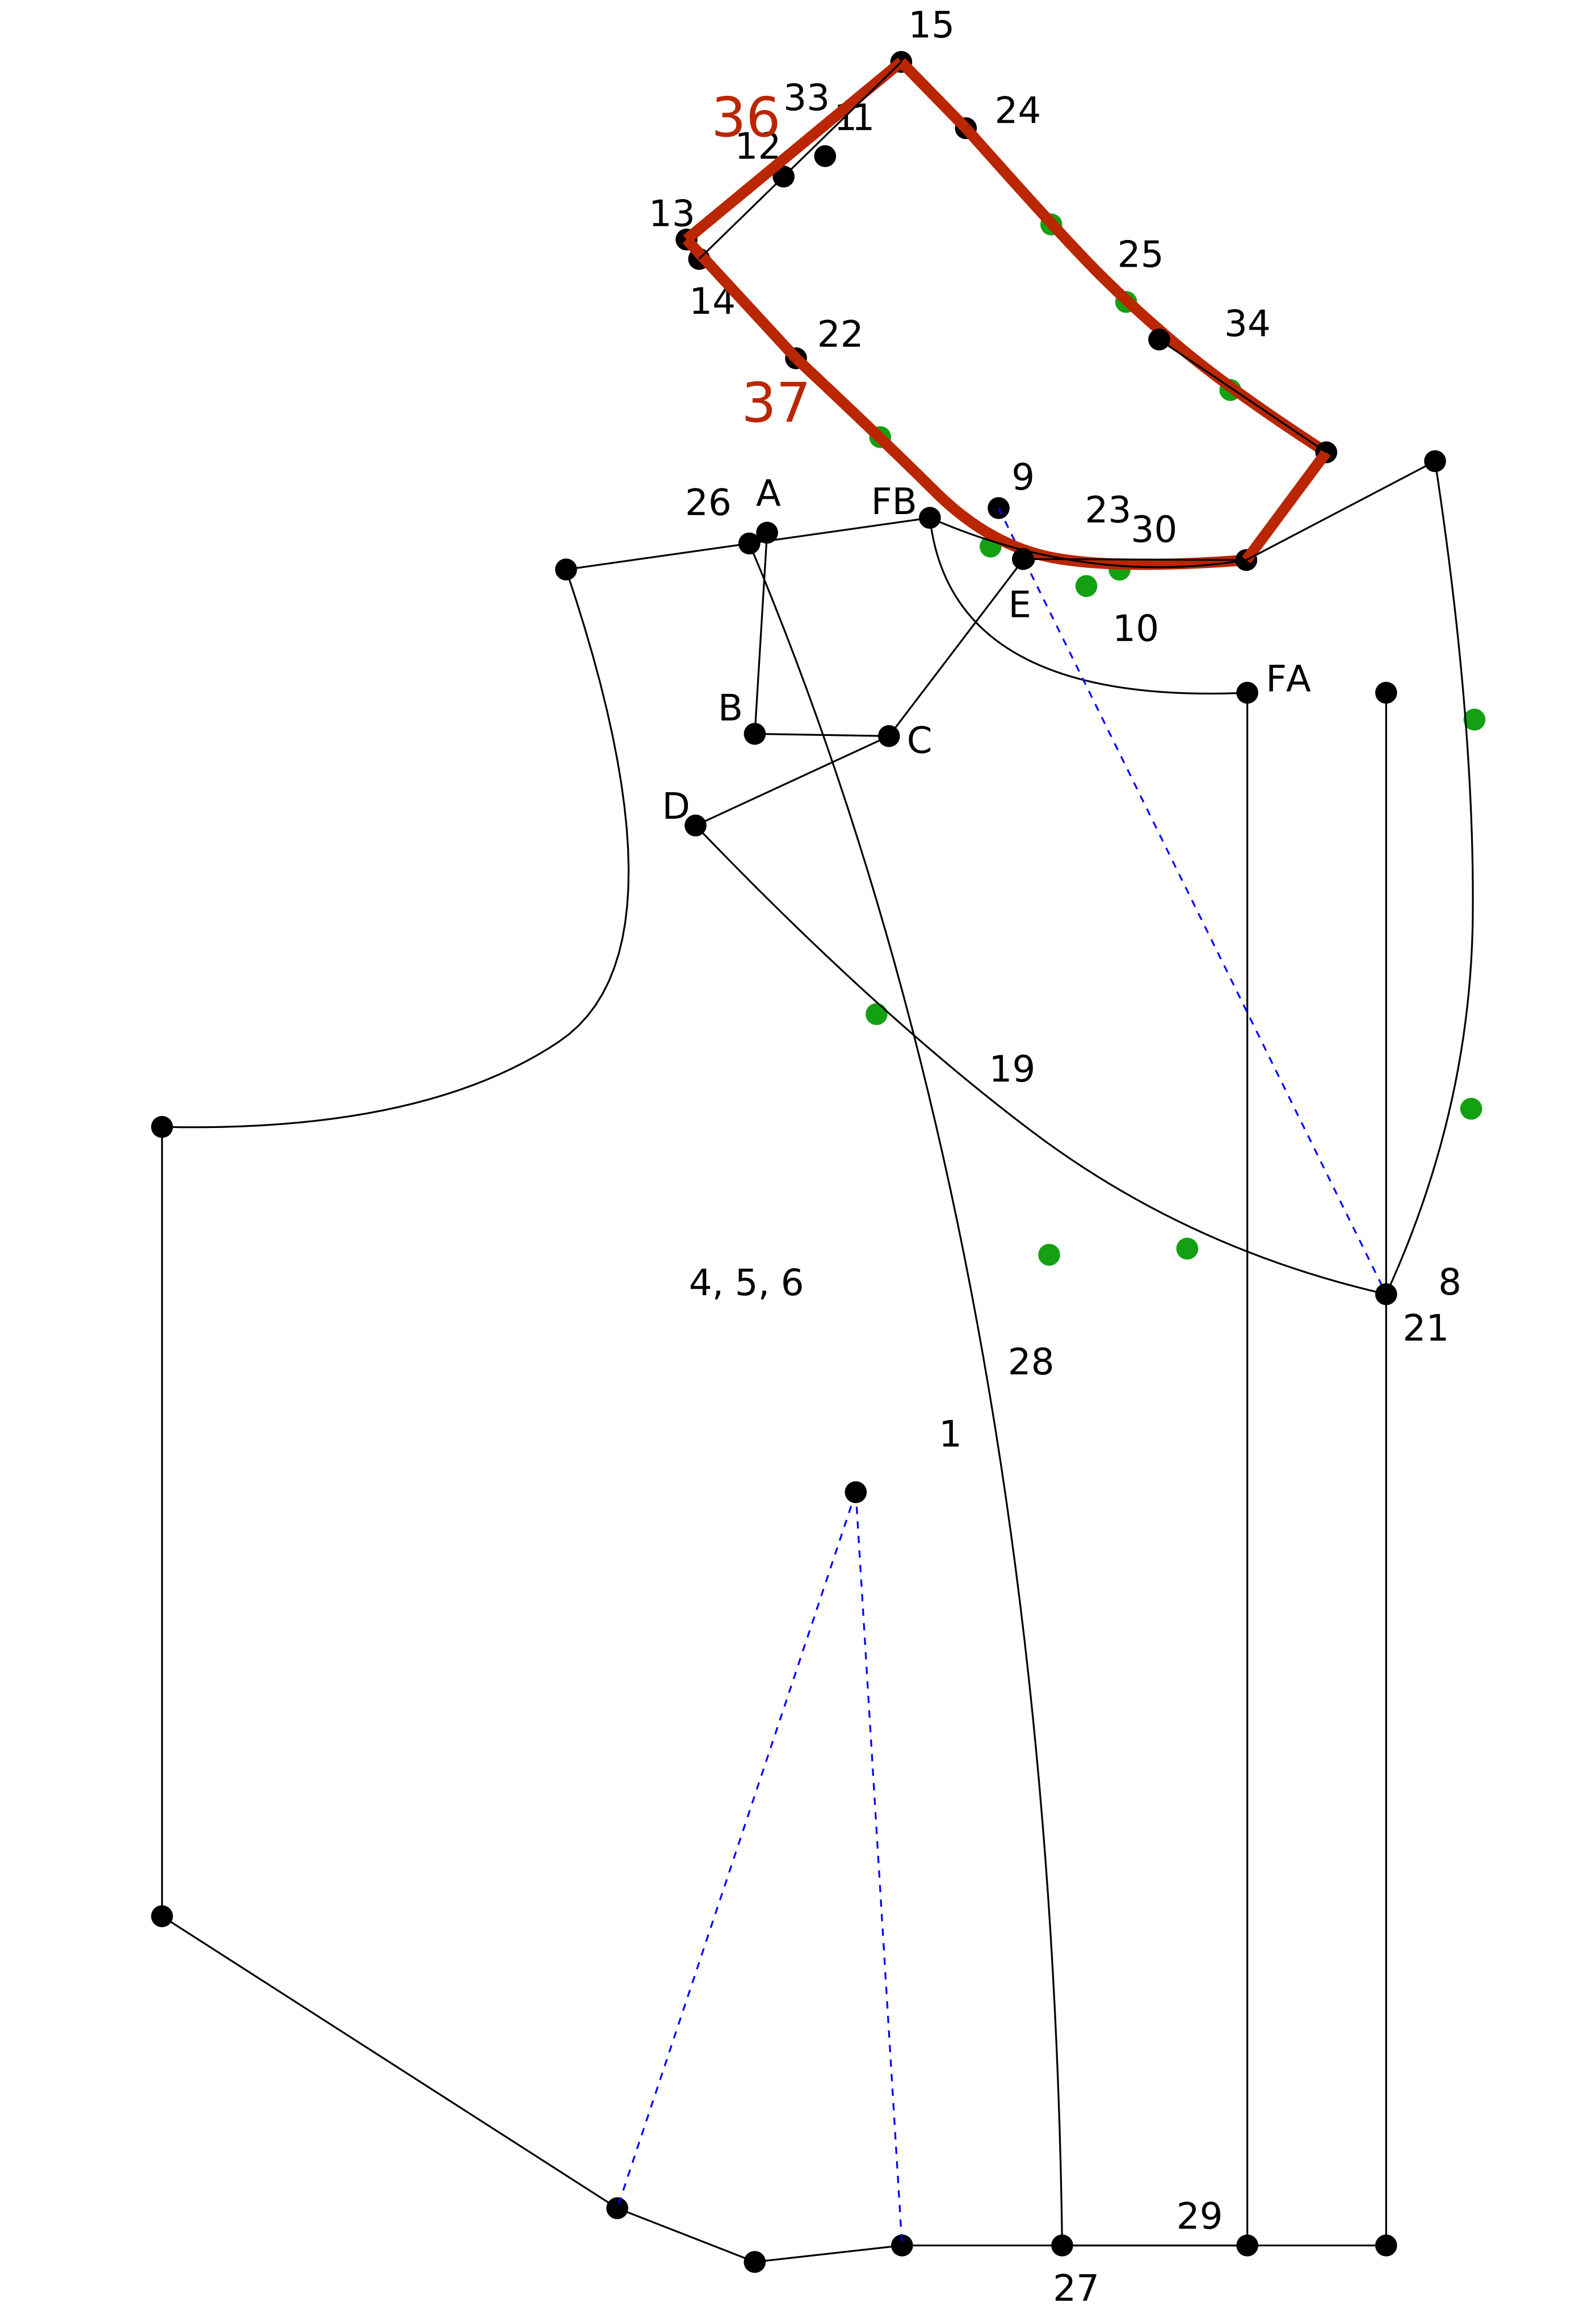 Lines > Add LineLines > Add LineLayers > Copy Items to LayerLayers > Layer Visibility
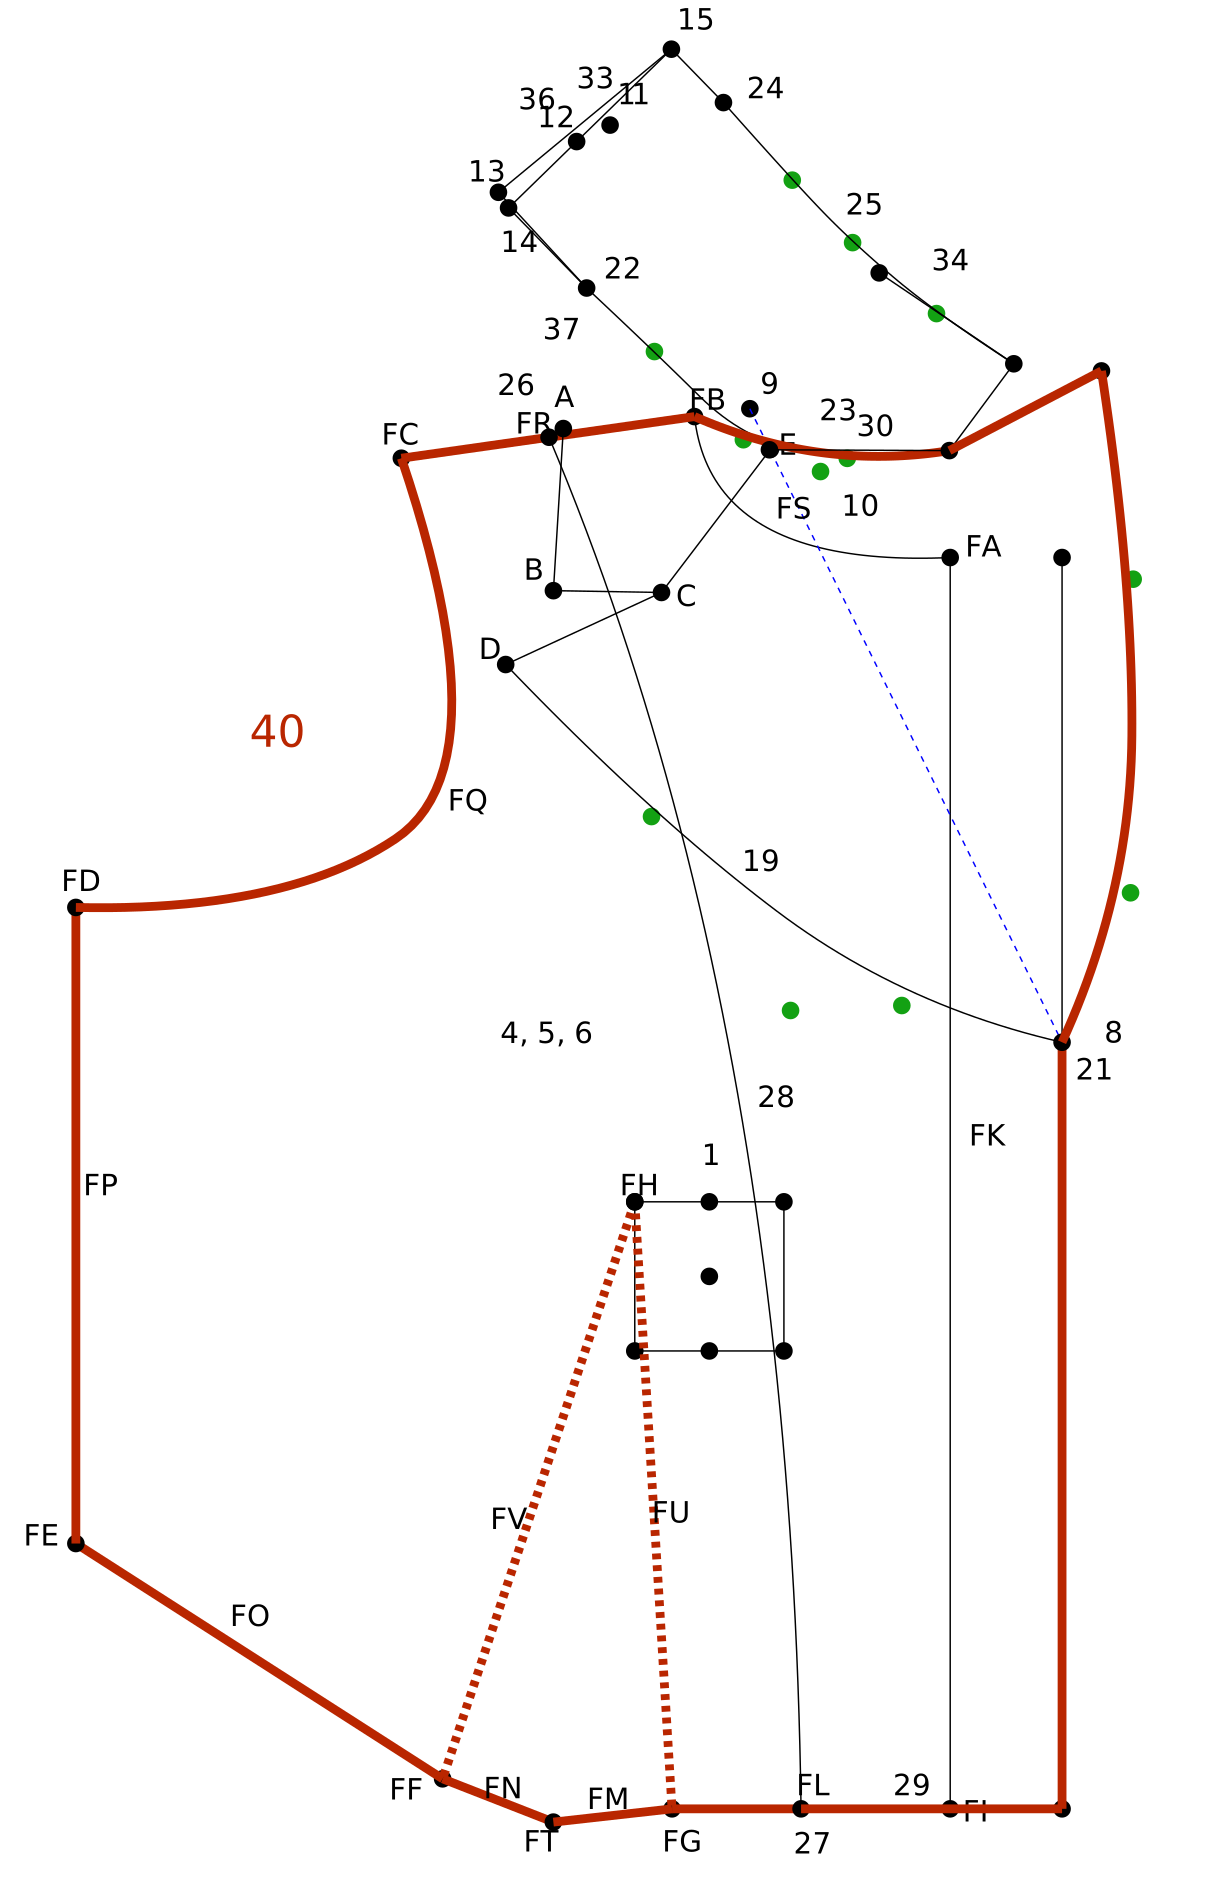 Layers > Copy Items to LayerLayers > Layer Visibility
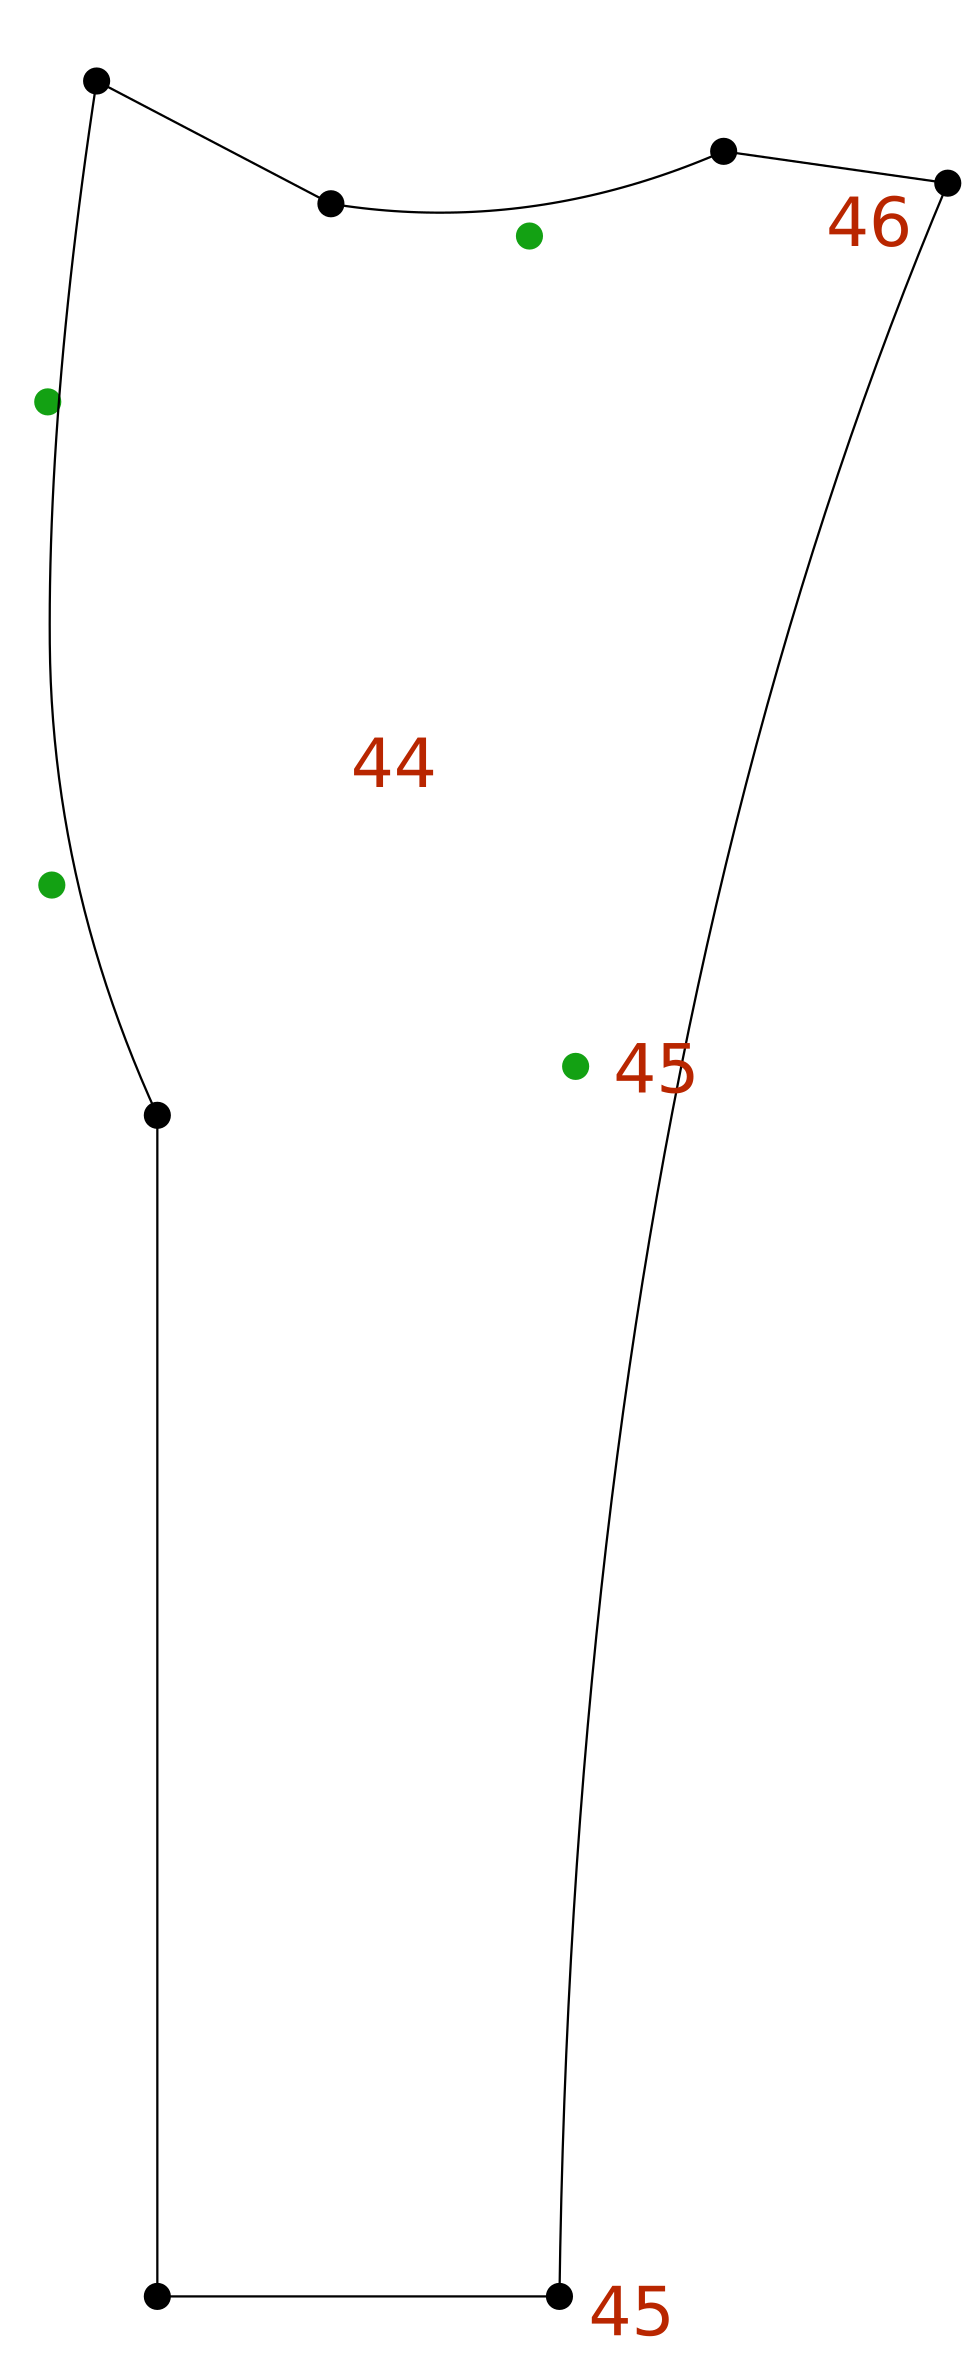
 Layers > Select Active LayerLayers > Layer Visibility
 Layers > Flip Layer
 Points > Move Point XYPoints > Move Point XY
Final Pattern Detailing & Markings
Use the Layer Visibility tool to isolate and finish each pattern layer individually:
- Back Collar Pattern (upper)
- Under Collar Pattern
- Bodice Front Final
- Facing Pattern
Step 1: Seam Allowances & Trimming
- Reduce outer collar and lapel edges to 1/4″ (6 mm) to ease turning.
- Roll Ease: trim 1/16″ to 1/8″ (1.5–3 mm) along the outer perimeter of the Under Collar pattern so the seam rolls under out of sight.
- Confirm 0 seam allowance on any edge designated as Cut on Fold.
- Add standard seam allowances to garment construction seams (shoulder, side, neck).
Step 2: Notches & Alignment Marks
Add matching notches across all joining seams:
- Lapel Break Point: Bodice Front & Facing.
- Collar Step: Bodice neckline, Facing, and Collar ends.
- Shoulder Match & Center Back: Mark collar neckline and center back.
- Armhole: Front sleeve match notch.
Step 3: Grainlines, Closures & Labels
- Grainlines: Mark straight of grain parallel to CF/CB on all pieces (see Academy page for 45° bias undercollar option).
- Buttons / Buttonholes: Mark button centers directly on the Center Front line (not the extension edge).
- Labels: Note Pattern Name, Piece Name, Date, Measurement Set, and Cut Quantities (Self & Interfacing).